Home / Body & Chassis / Replacing 356A Floor Pans: What We Learned Doing Ours
Replacing 356A Floor Pans: What We Learned Doing Ours
Old floors out, Sierra Madre repair panels in — the complete arc from rust survey to seam-sealed new steel, photographed step by step on our 1959 356A 1600 Super.
Applies to: 356A (1956–59) · B/C floor stampings differDifficulty: HardTime: Shop job · several weeks elapsedUpdated: Jul 2026
✓ Verified on the shop car — VIN 108689, 2025–26 metalwork phase
Shop car context: after fifty years in dry Texas storage, VIN 108689 needed floors and a battery box — but less than feared. The tar boards hid almost no additional rust. Everything below happened on this car and is shown in this car's photos.
§1 · What correct looks like
A 356A floor is a stamped steel pan, welded into the longitudinals and the tunnel, with a distinctive reinforcing-rib pattern. The battery box sits in the nose ahead of the fuel tank and is almost always the first thing to rot — battery acid plus fifty years does what you’d expect.
Reproduction pans vary in stamping fidelity. We used Sierra Madre panels; the rib pattern and gauge were close to original and fit with normal trimming.
Authenticity note: the floor is invisible under carpet, which makes it the least controversial place on the car to choose modern corrosion protection over strict originality. Judges look at the underside, though — keep seam and weld placement factory-correct.
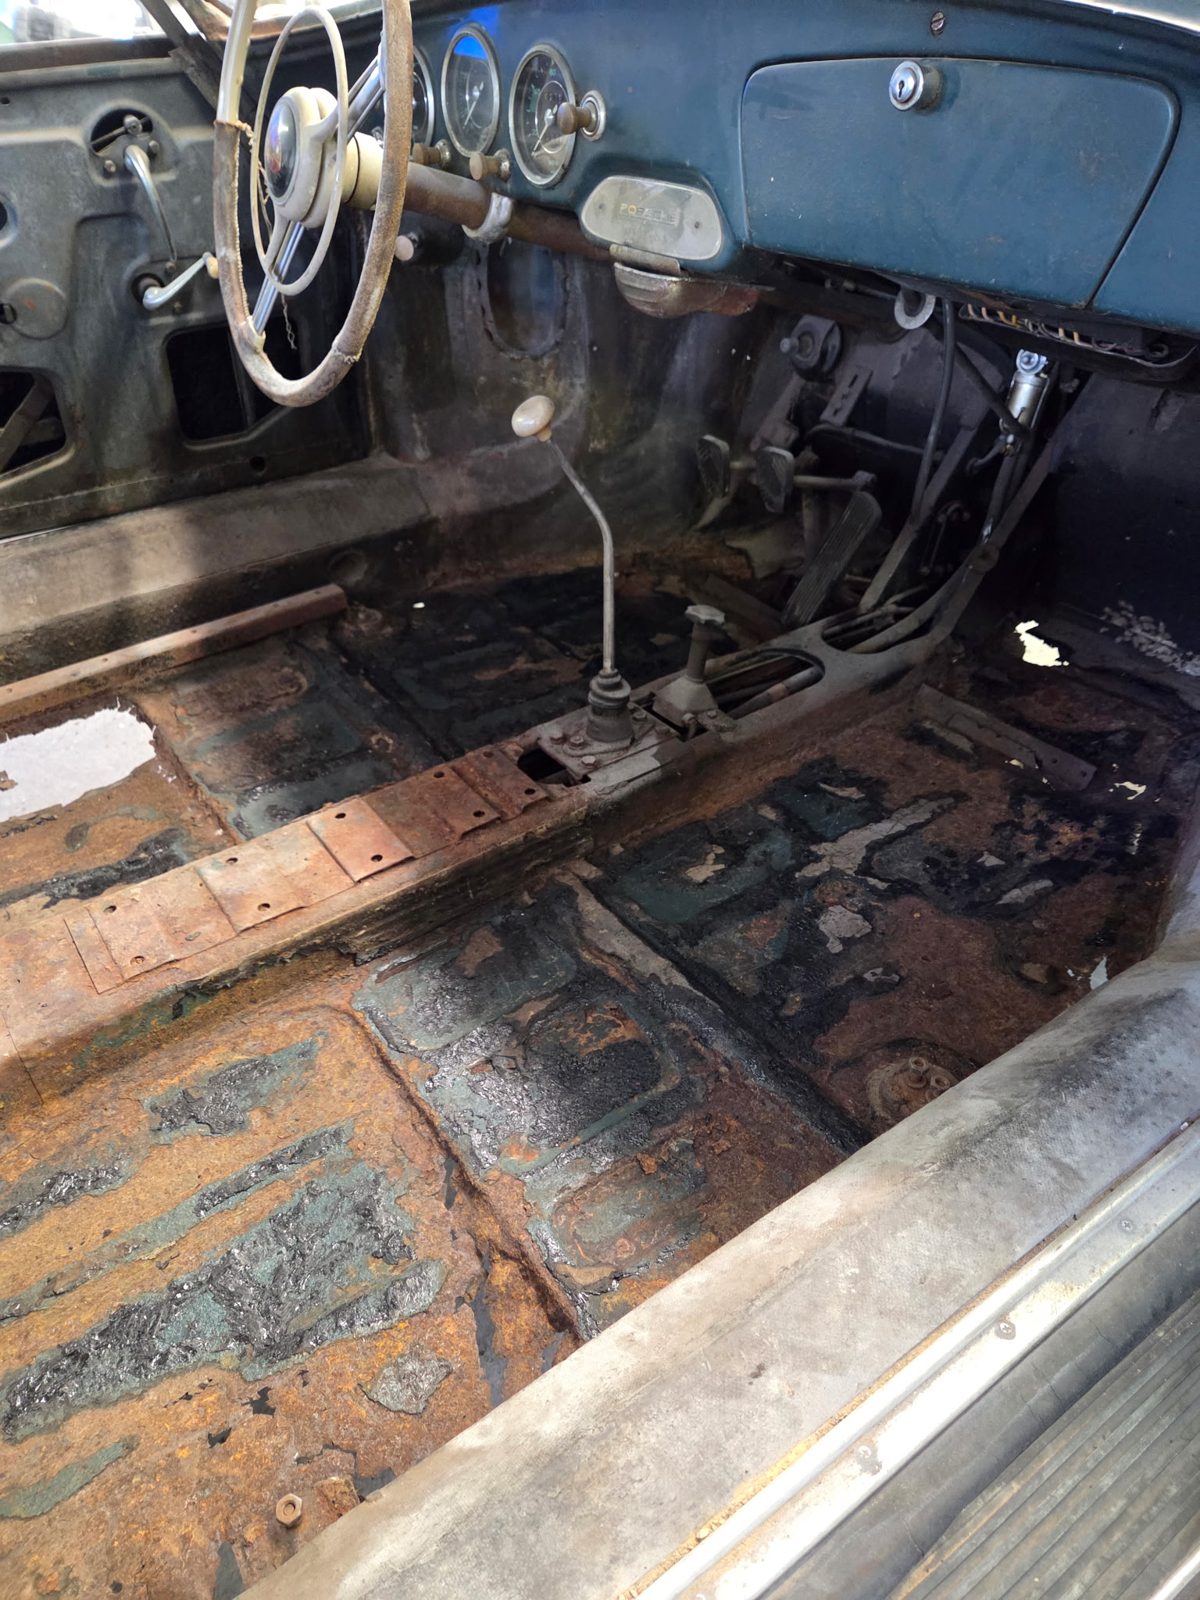
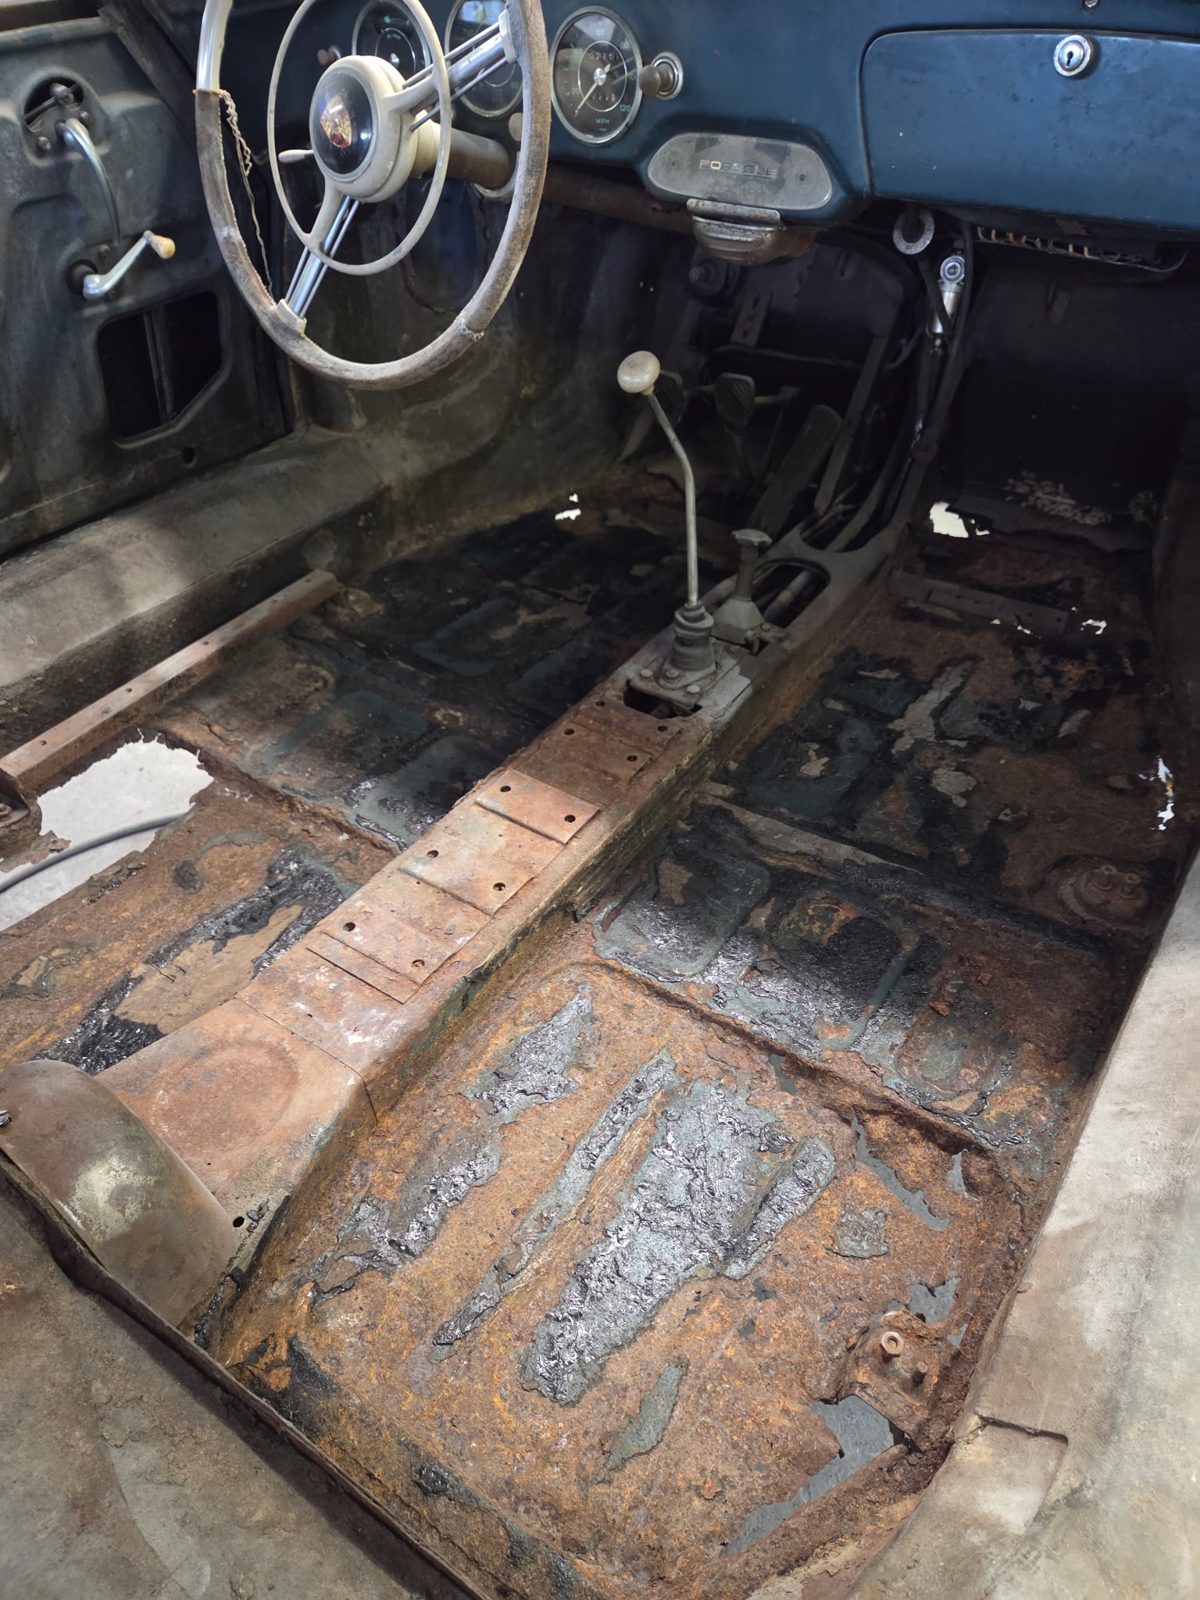
As found: the original floor after the interior came out. Solid in places, gone in others — a fair summary of a dry-stored Texas car.
§2 · Survey before you cut
Do the rust survey on a lift, underside first, before committing to a repair plan. On our car the survey found battery box rot and floor rust, but sills in better condition than the floor suggested — that changed the scope of the metal phase.
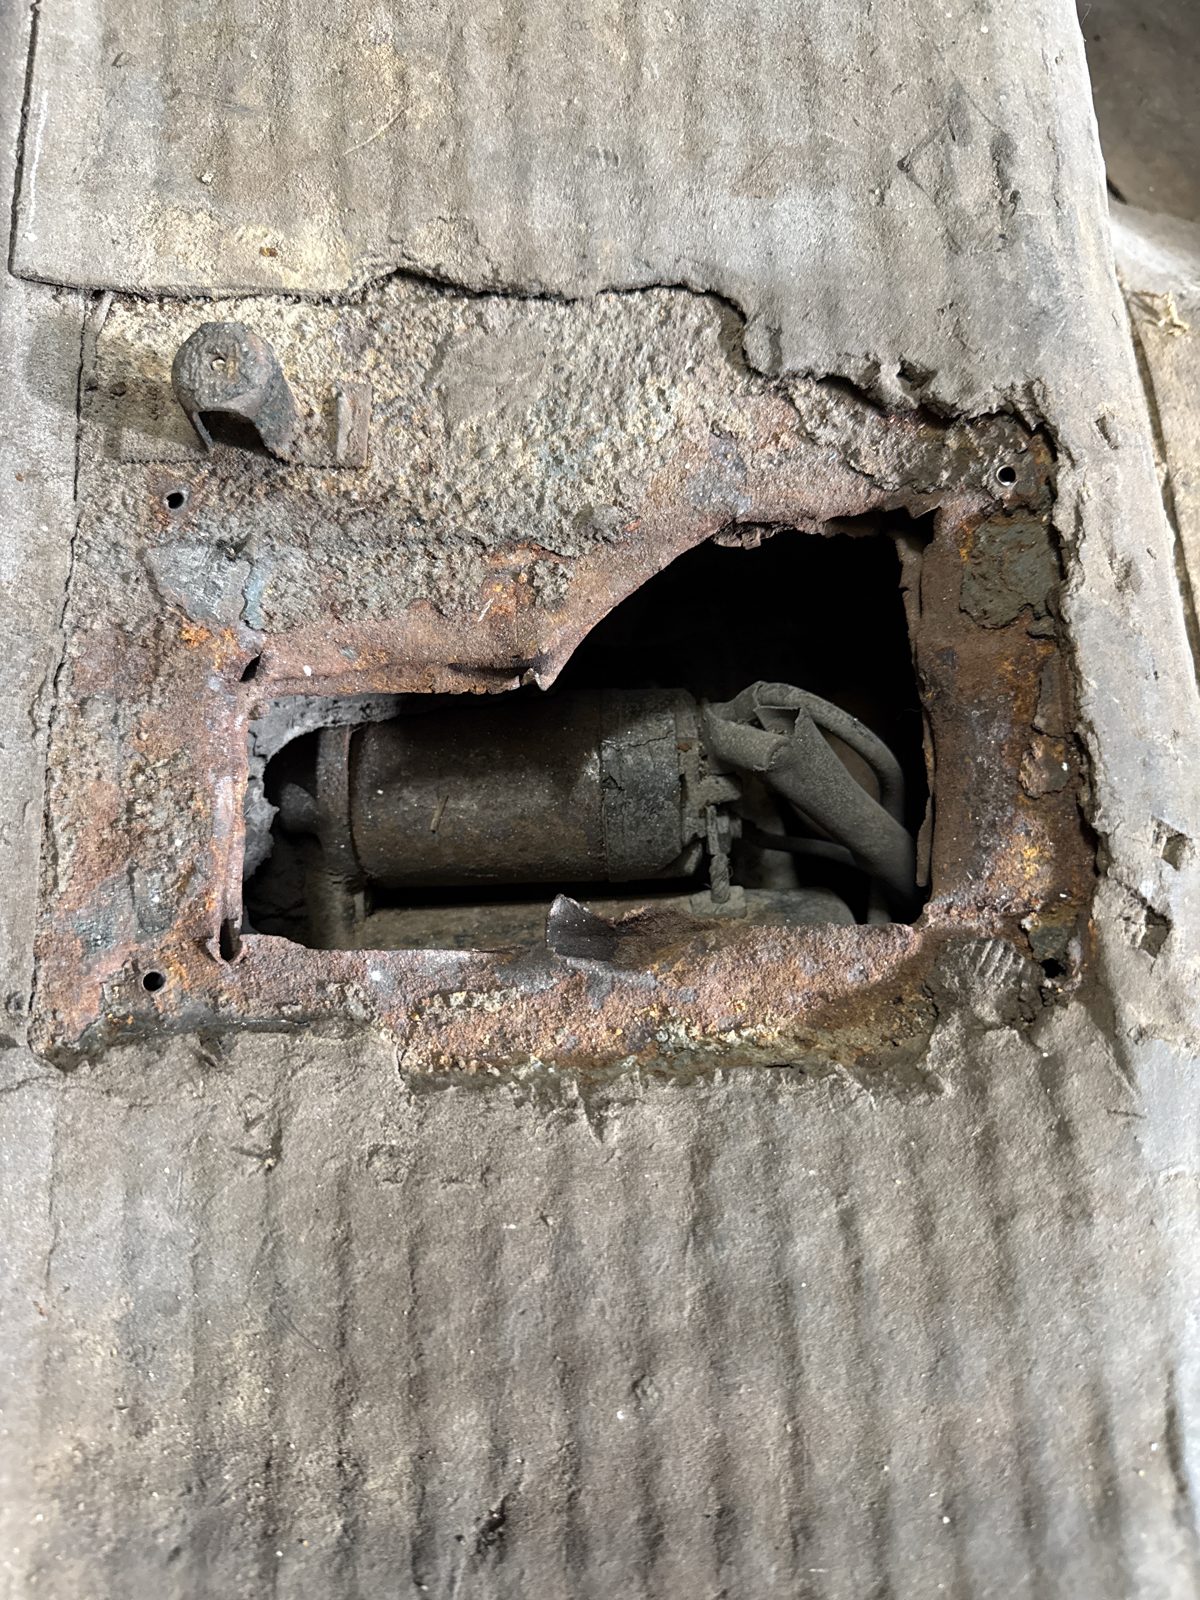
Not the battery box — this is the starter, sitting exactly where it belongs. A previous owner cut an access hole in the sheet metal here rather than removing and repairing it properly. It'll be closed up with a new sheet metal patch.
Rules we followed, from the car’s restoration philosophy:
Retain factory metal wherever structurally sound — replace only what genuinely requires it.
No acid dipping, no whole-body blasting. Hand and machine work, targeted blasting only where access demands it.
Photograph everything before cutting — reference points disappear fast once the floor is out.
Replace vs. patch: unlike the engine case or gearbox, floor pans carry no serial or matching-numbers stamp — there's no factory-number argument for saving a specific pan. Pans are structural on a 356, contributing meaningfully to chassis rigidity, and rigidity is directly tied to handling. A patch over genuine pan-level rot is a compromise on both strength and rigidity, so once the survey confirmed the rot was real, the call was full replacement, not a patch.
§3 · Old metal out
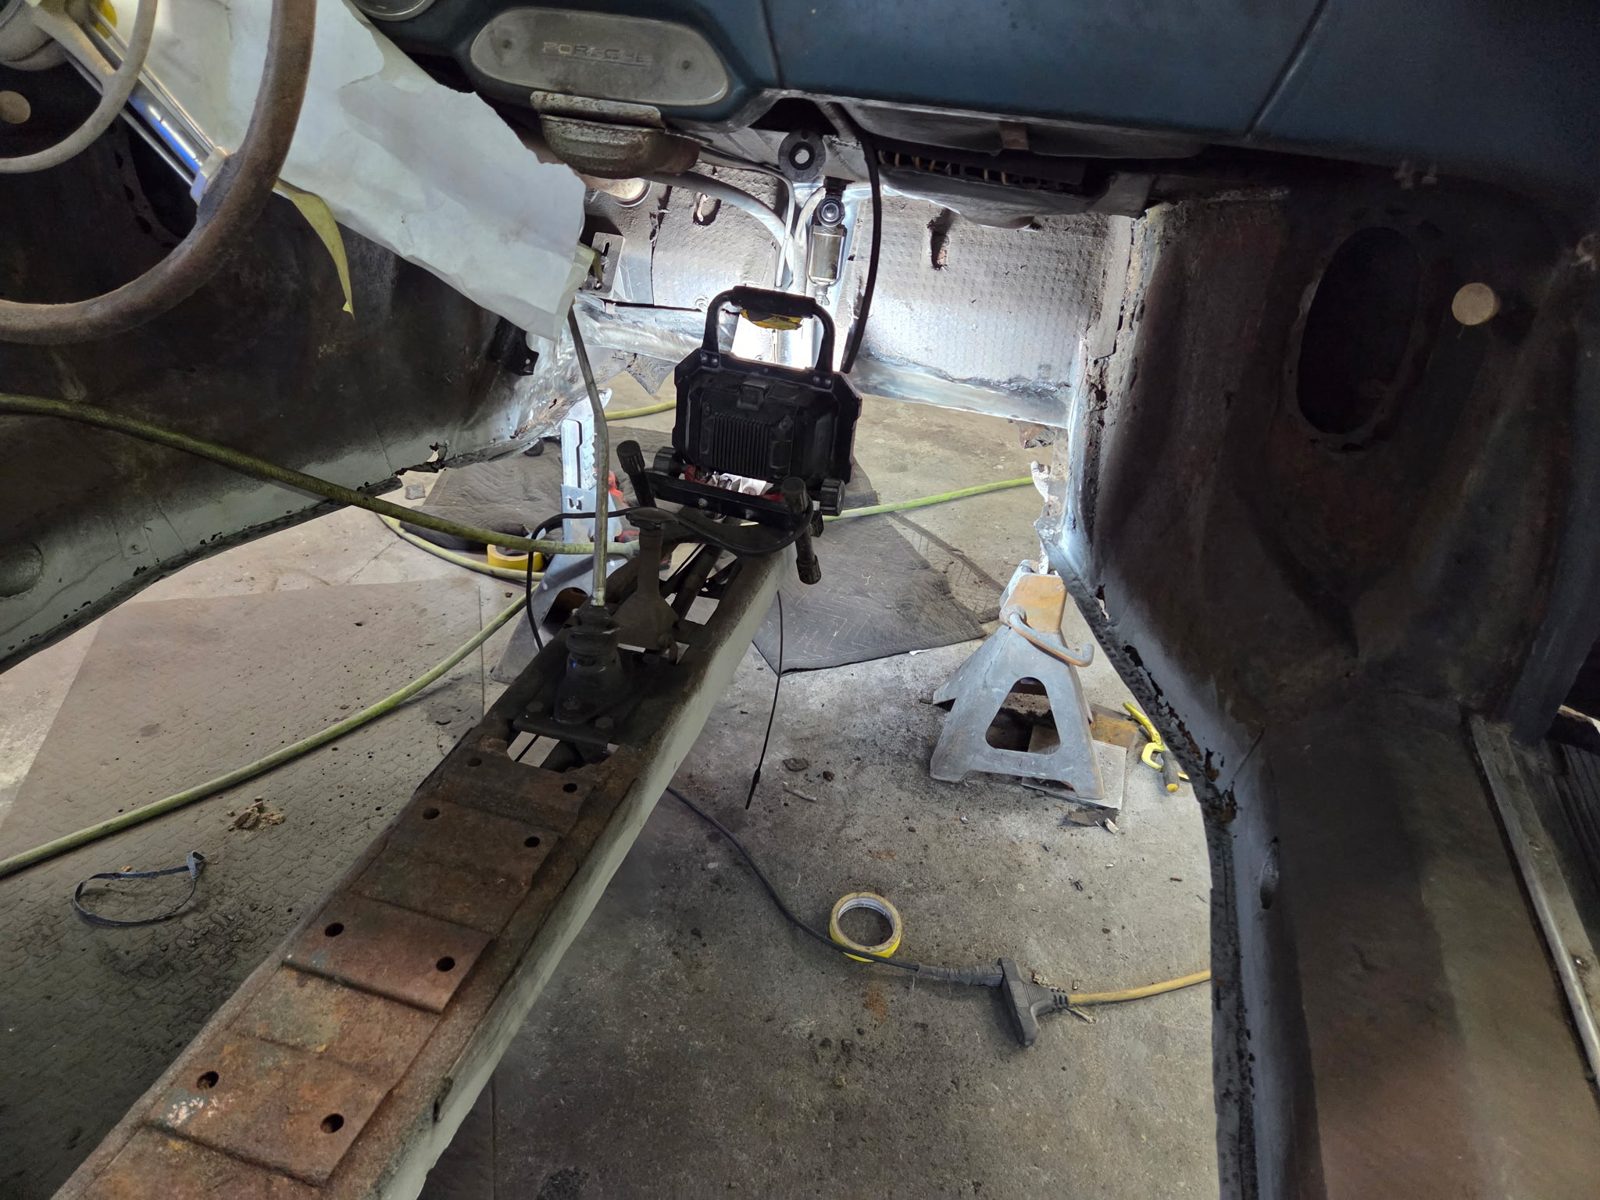
The floors came out with the body braced and the car level. With the pans gone you can finally see the longitudinals and tunnel honestly — this is the moment hidden problems surface, and on our car the news was good: one area tied to a previous repair cut needed a patch, nothing more.
Floor out: tunnel and structure exposed for inspection and cleanup.
§4 · New panels in
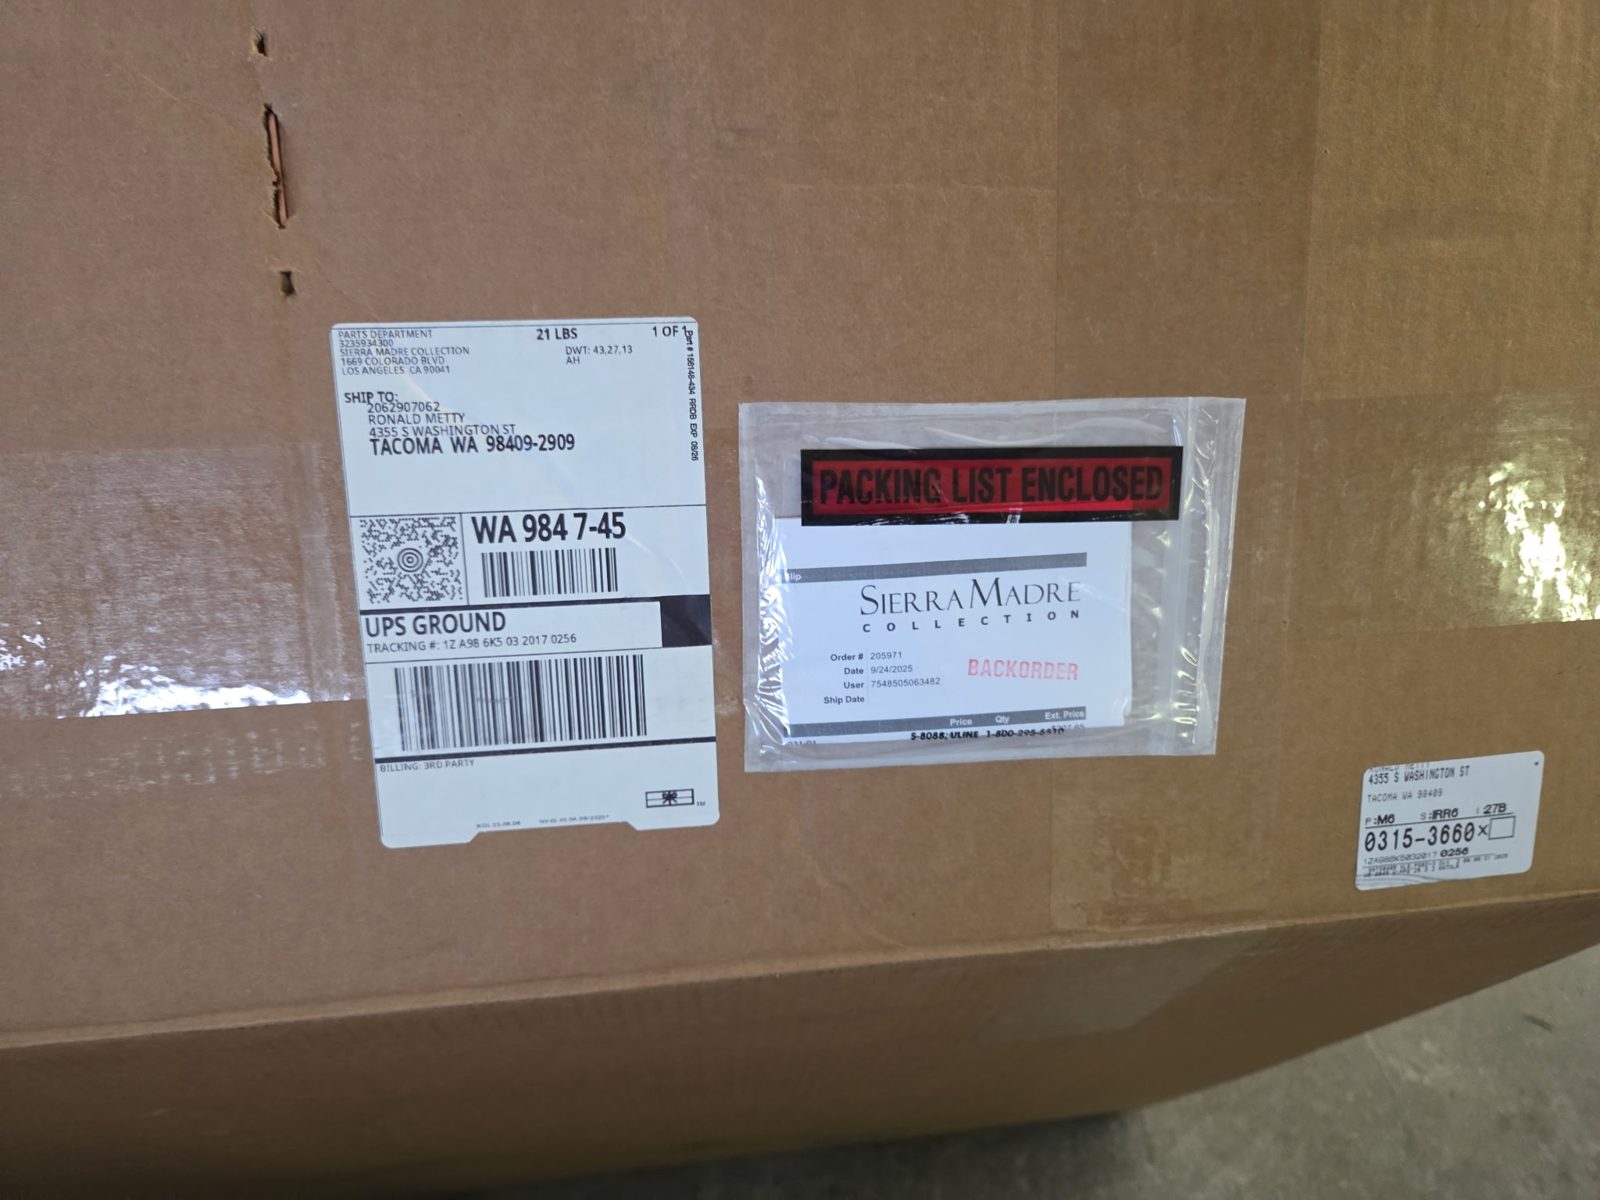
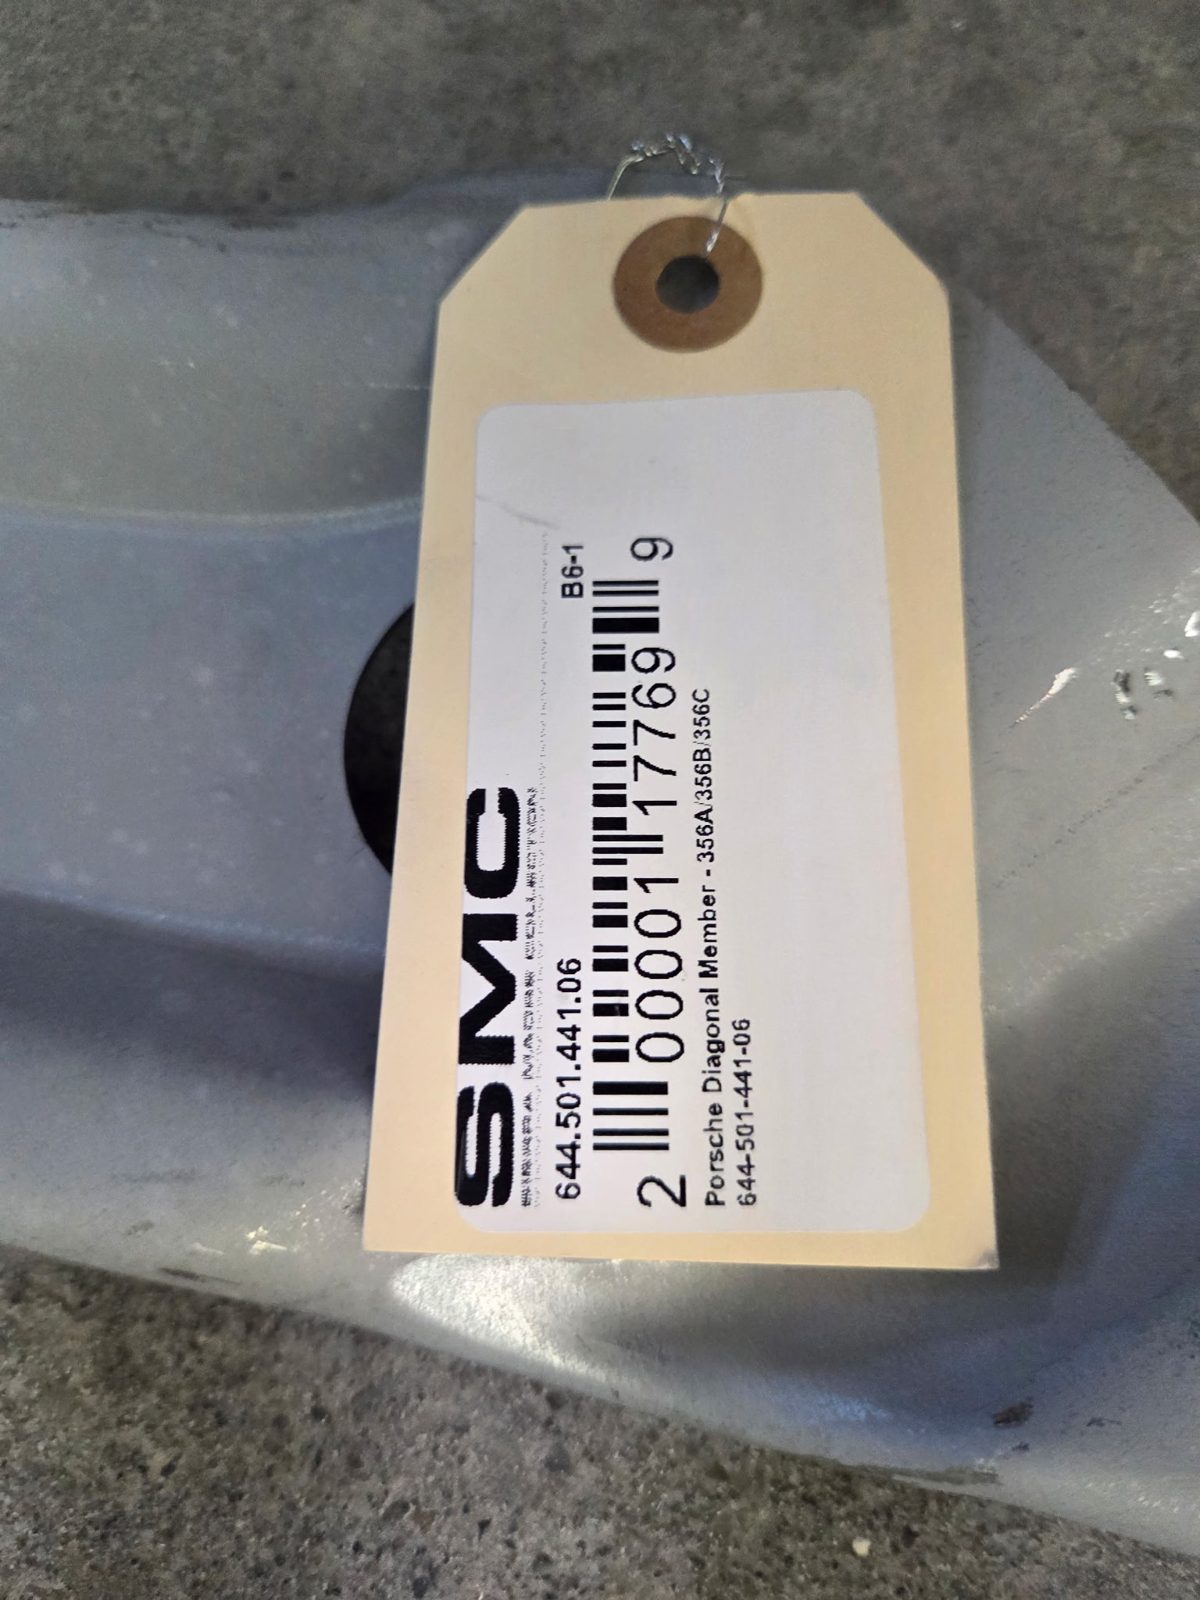
Our panels came from Sierra Madre — the shipment photos and part tags are in the build record, and part numbers from the invoice will be added to the parts list below.
Panels arrive tagged — photograph the tags before they come off. Your future self writing the build ledger will thank you.
Vendor callout: our first shipment of these panels was stolen and retagged in transit. Sierra Madre's team handled it without friction — they got replacement panels out to the shop promptly, no hassle. Worth calling out: that's the kind of service that matters when you're depending on a supplier for parts you can't easily source elsewhere.
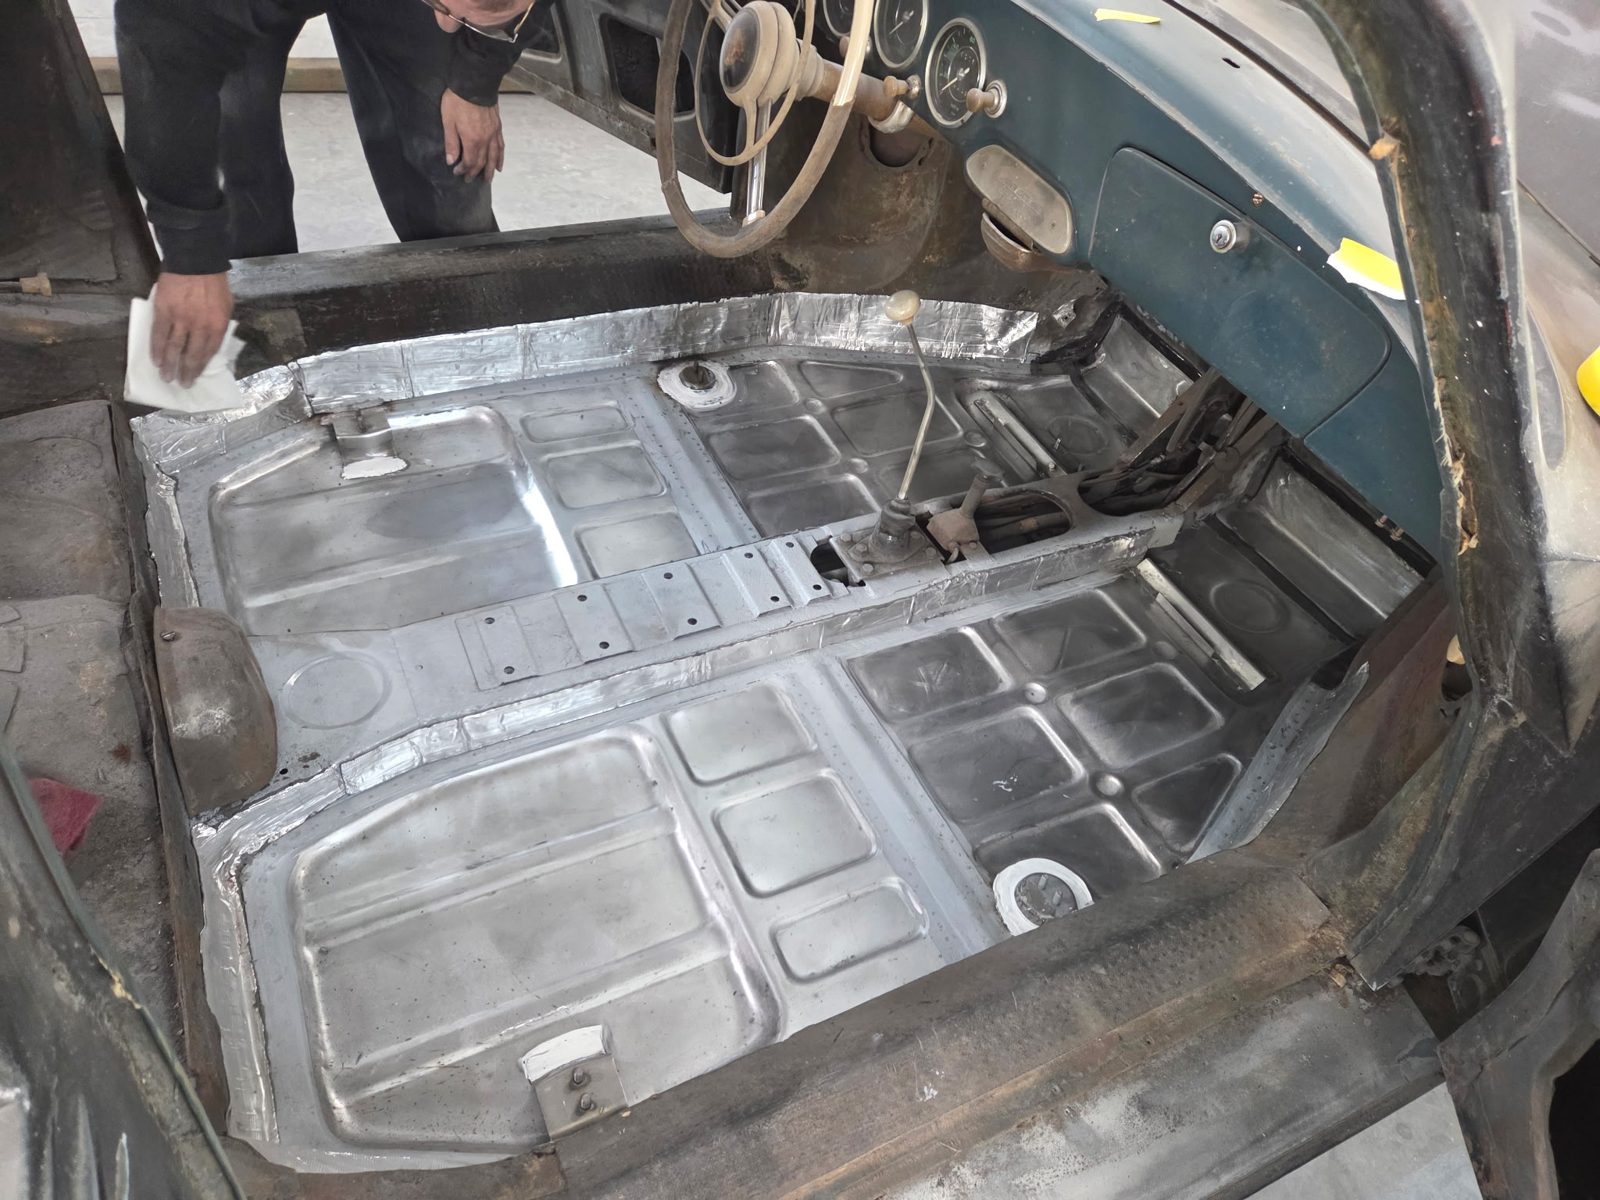
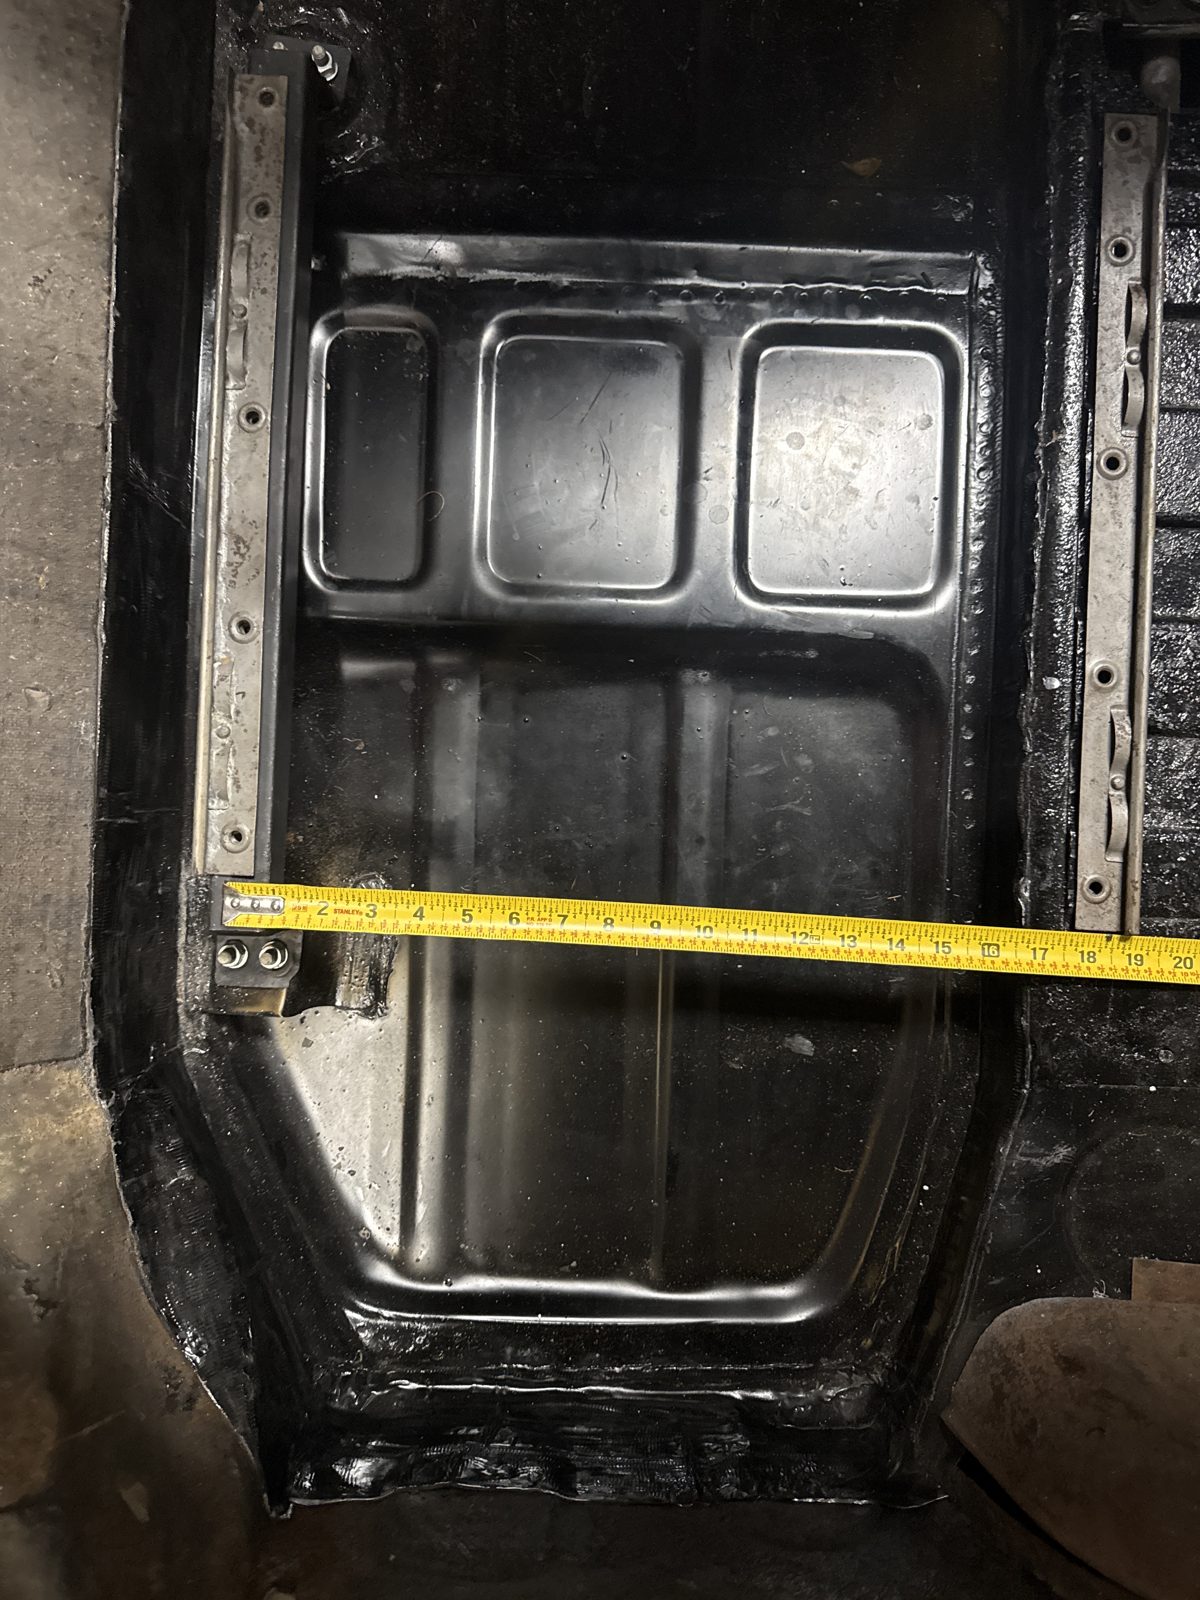
Trial-fit before welding: the pan gets clamped, checked against seat-rail and tunnel reference points, trimmed, and re-checked. Only then does welding start, working progressively so heat doesn’t distort the pan.
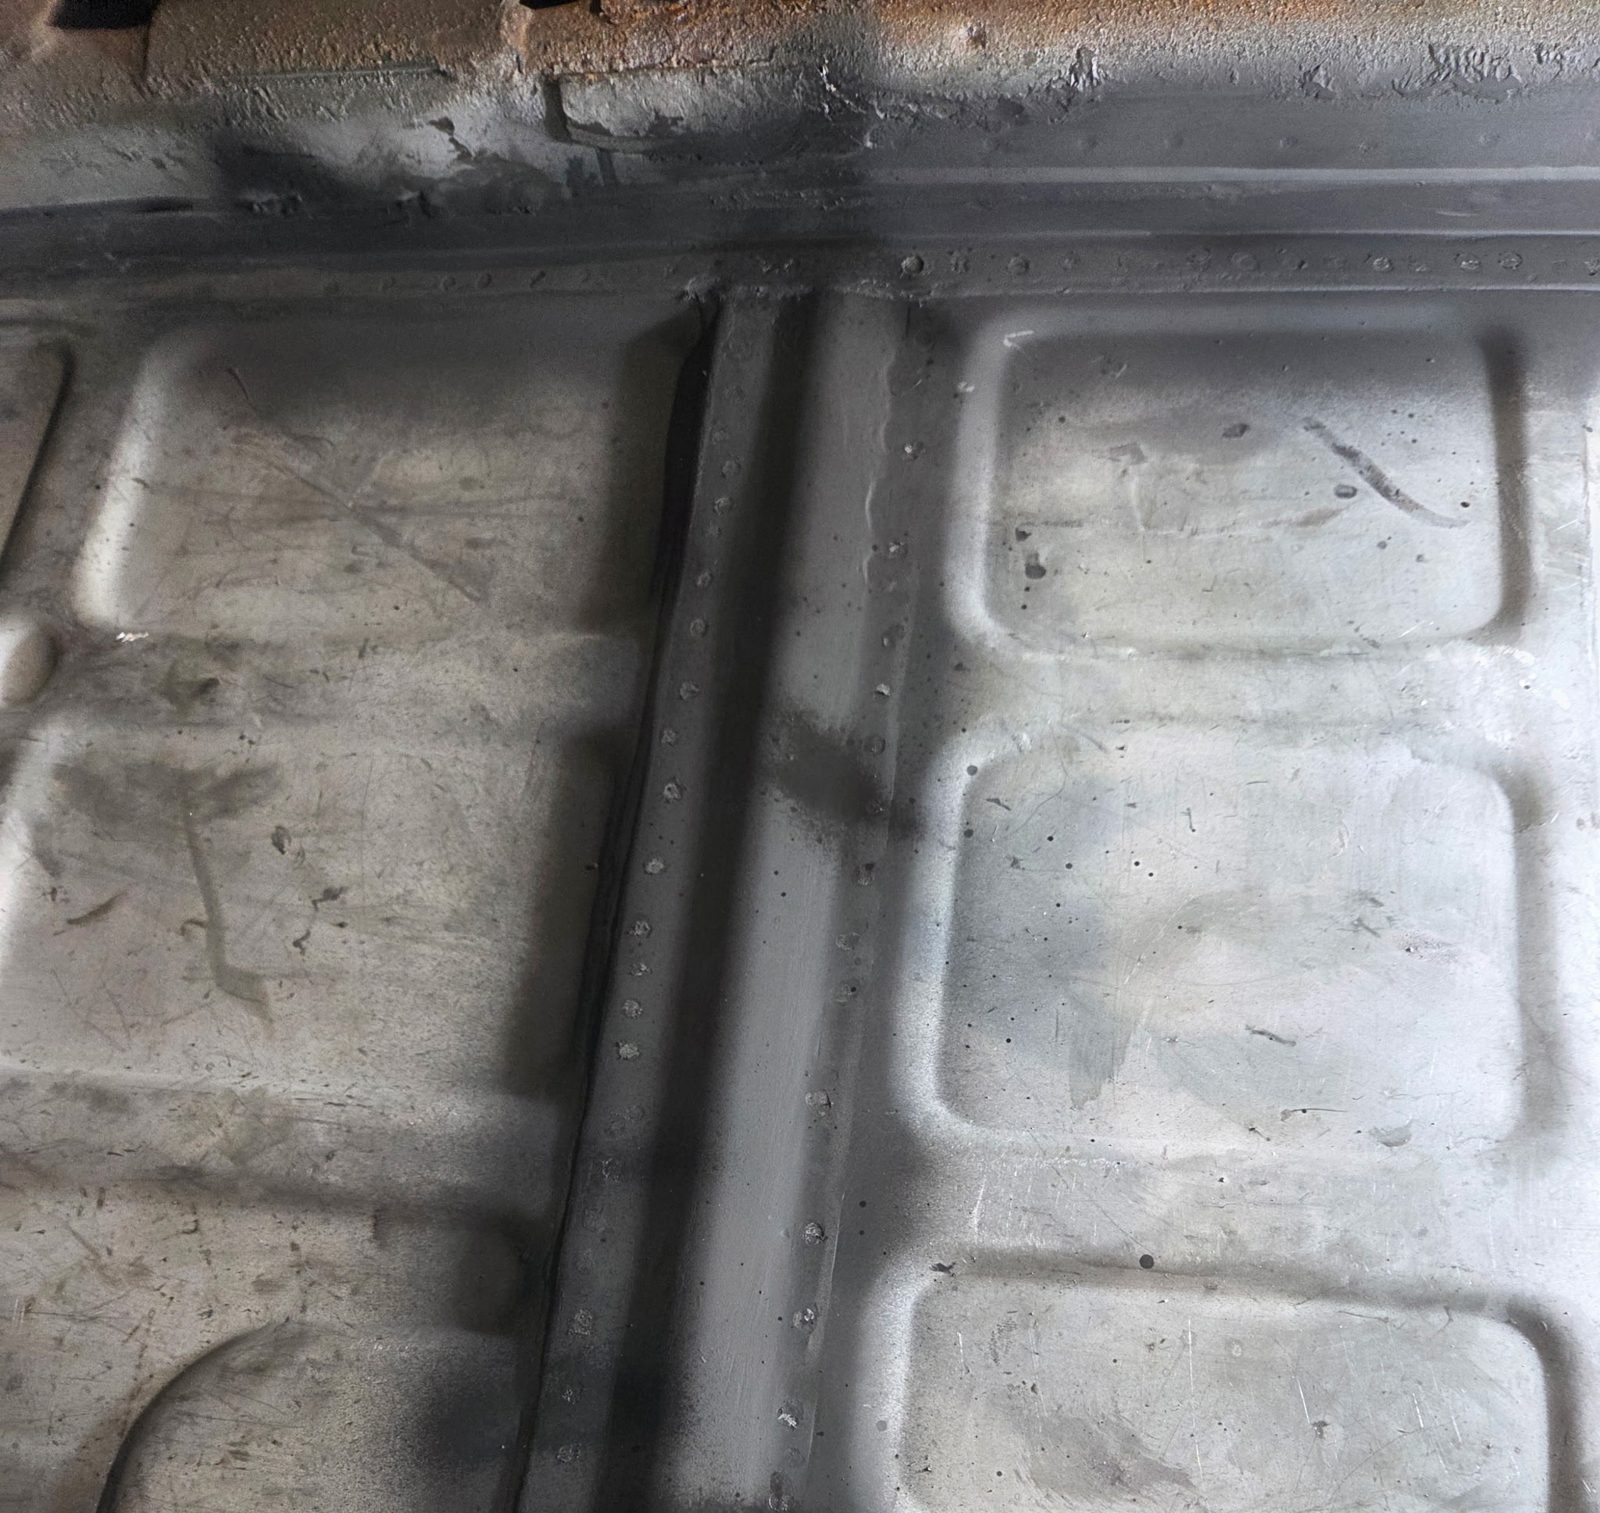
New pans in place. Right: the stamping detail on the repair panel.
§5 · Protection — the part the factory didn’t do
The factory’s tar-paper floor treatment trapped moisture against the steel; it’s part of why these floors die. We’re not repeating it: epoxy primer and seam sealer on all new metal, cavity protection where it won’t show, and modern inspectable insulation under period-correct carpet later.
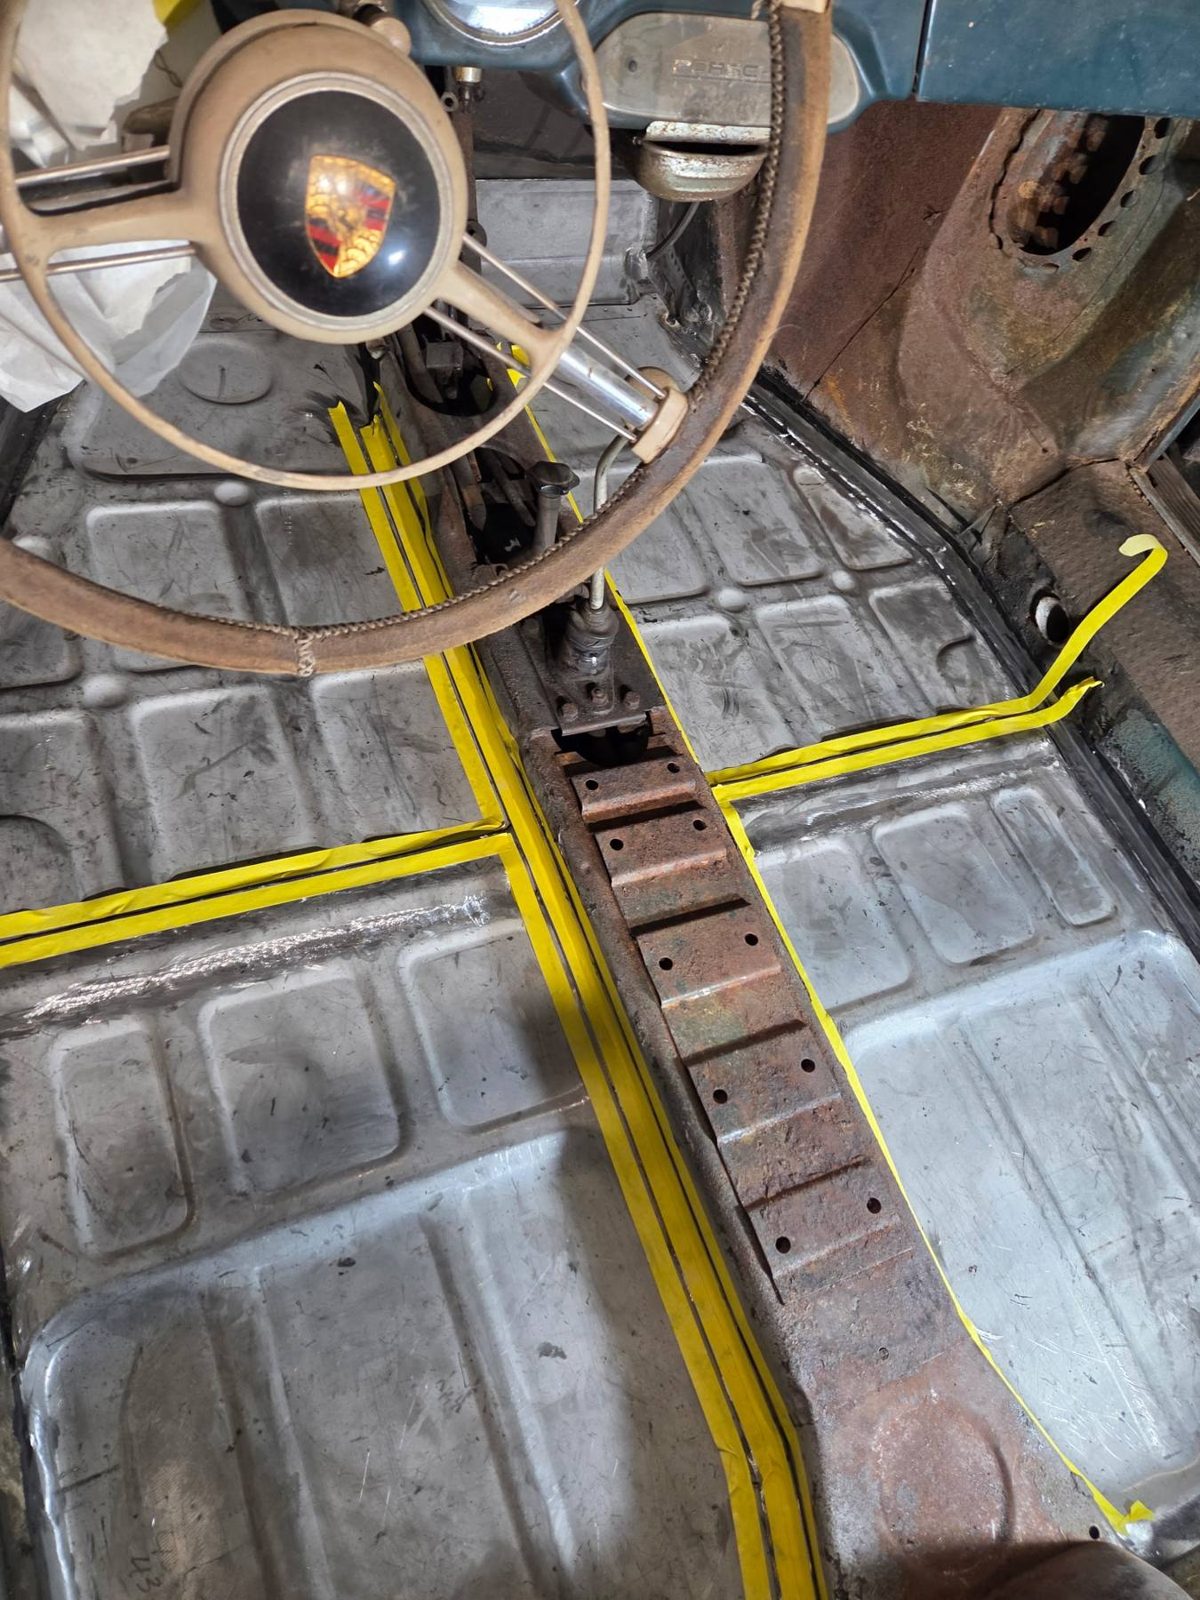
The new battery box in and coated; the finished floor sealed and masked for the next phase.
Honesty note: this was done in a professional restoration shop. It is achievable at home with a welder, a rotisserie or solid bracing, and patience — but the bracing and reference-point discipline is what separates a straight car from a banana. If you've never done structural welding, this is a job to apprentice on, not to learn solo.
Parts used Affiliate links · they fund the research
Floor pan set, 356A
Stamped repair panels; fit on our car was good with normal trimming. PN from build invoice to be added.
Sierra Madre
Battery box floor
Replaced together with the pans — on most cars this age the battery box goes first.
Sierra Madre
Seam sealer & epoxy primer
Modern corrosion protection on all new seams — invisible once carpeted.
Pelican
Where this guide comes from
Shop car 1959 356A 1600 Super, VIN 108689 — full floor and battery box replacement, photographed
Book Kellogg, Guide to Do-It-Yourself Restoration — floor replacement chapter (consolidation in progress)
Supplier Sierra Madre Collection — panel fitment notes