§1 · The question that decides everything
Every tank thread on every forum collapses into the same argument: seal it or don’t. The argument is unresolvable in the abstract because it depends entirely on a diagnosis nobody makes explicitly.
Is the tank contaminated, or is it failing?
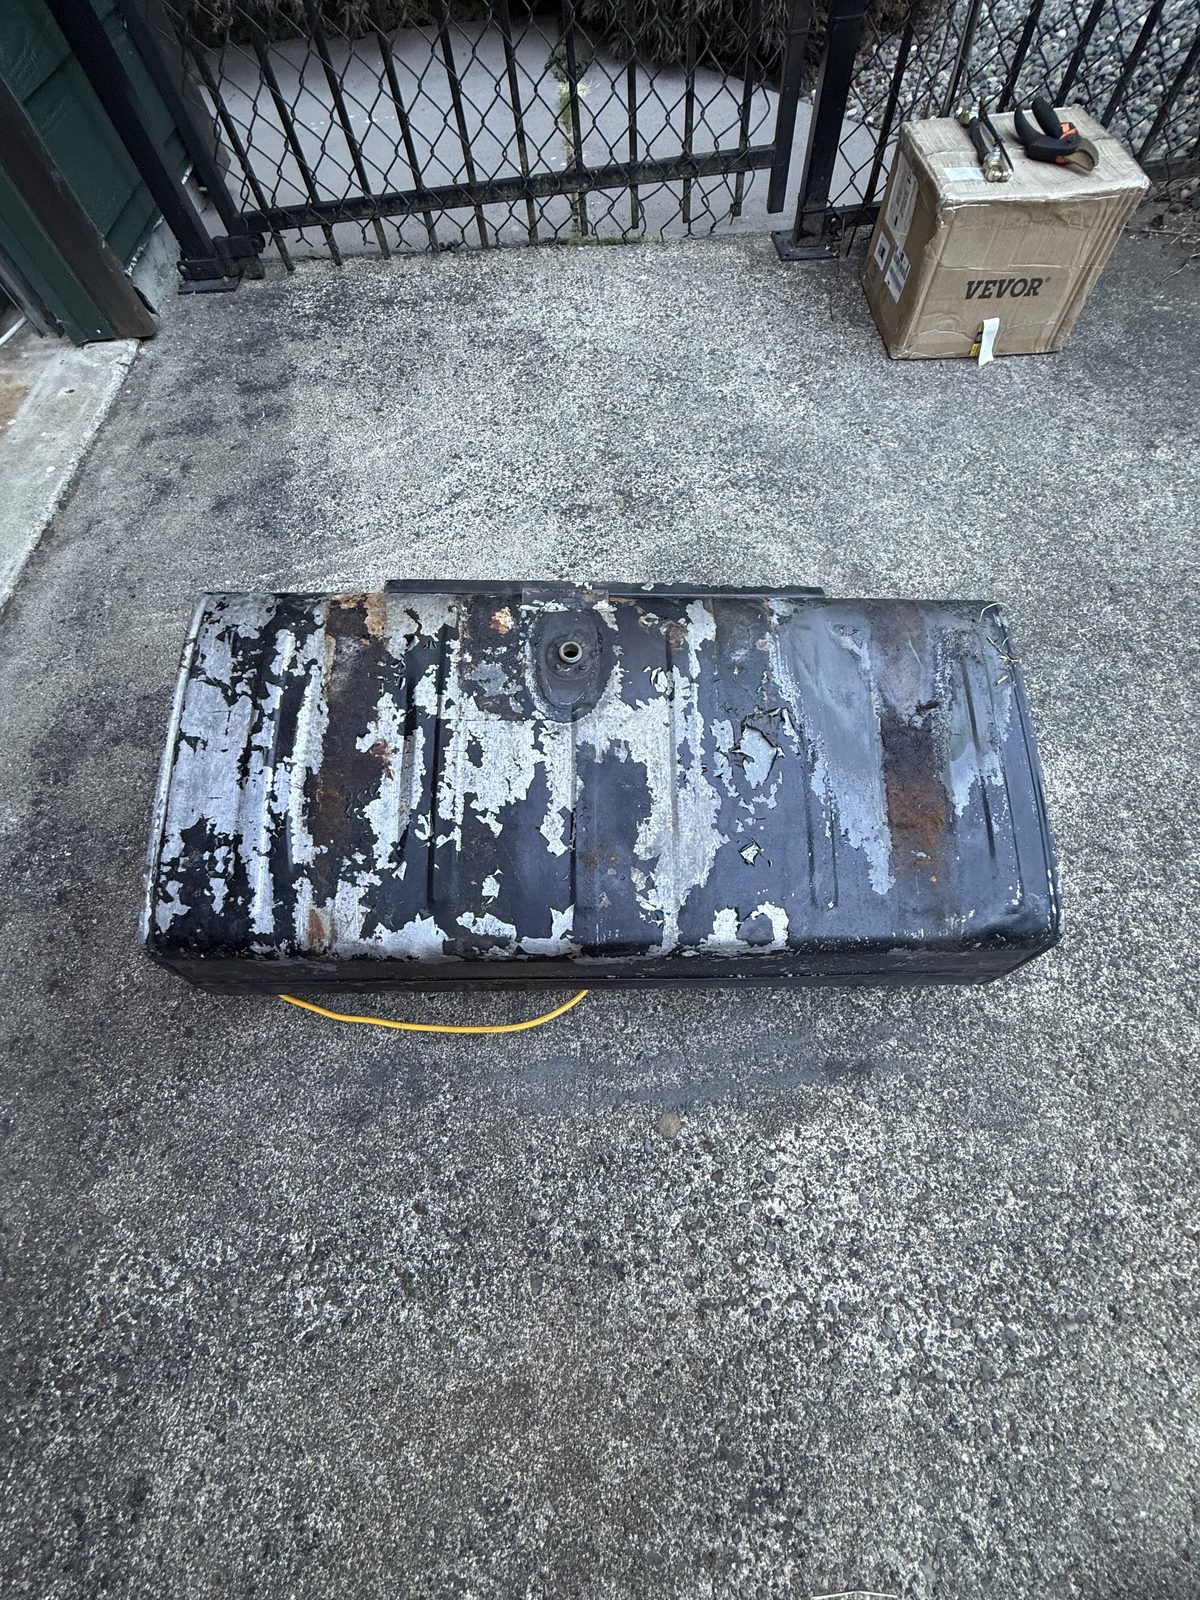
A contaminated tank has varnish, residue, and light surface oxidation. The steel underneath is intact. A failing tank has scale, flaking, delamination, pinholes — steel that is actively leaving. These need opposite treatments, and treating the first like the second is how good original tanks get filled with liner that later peels into the fuel system.
So the first job isn’t cleaning. It’s finding out which one you have.
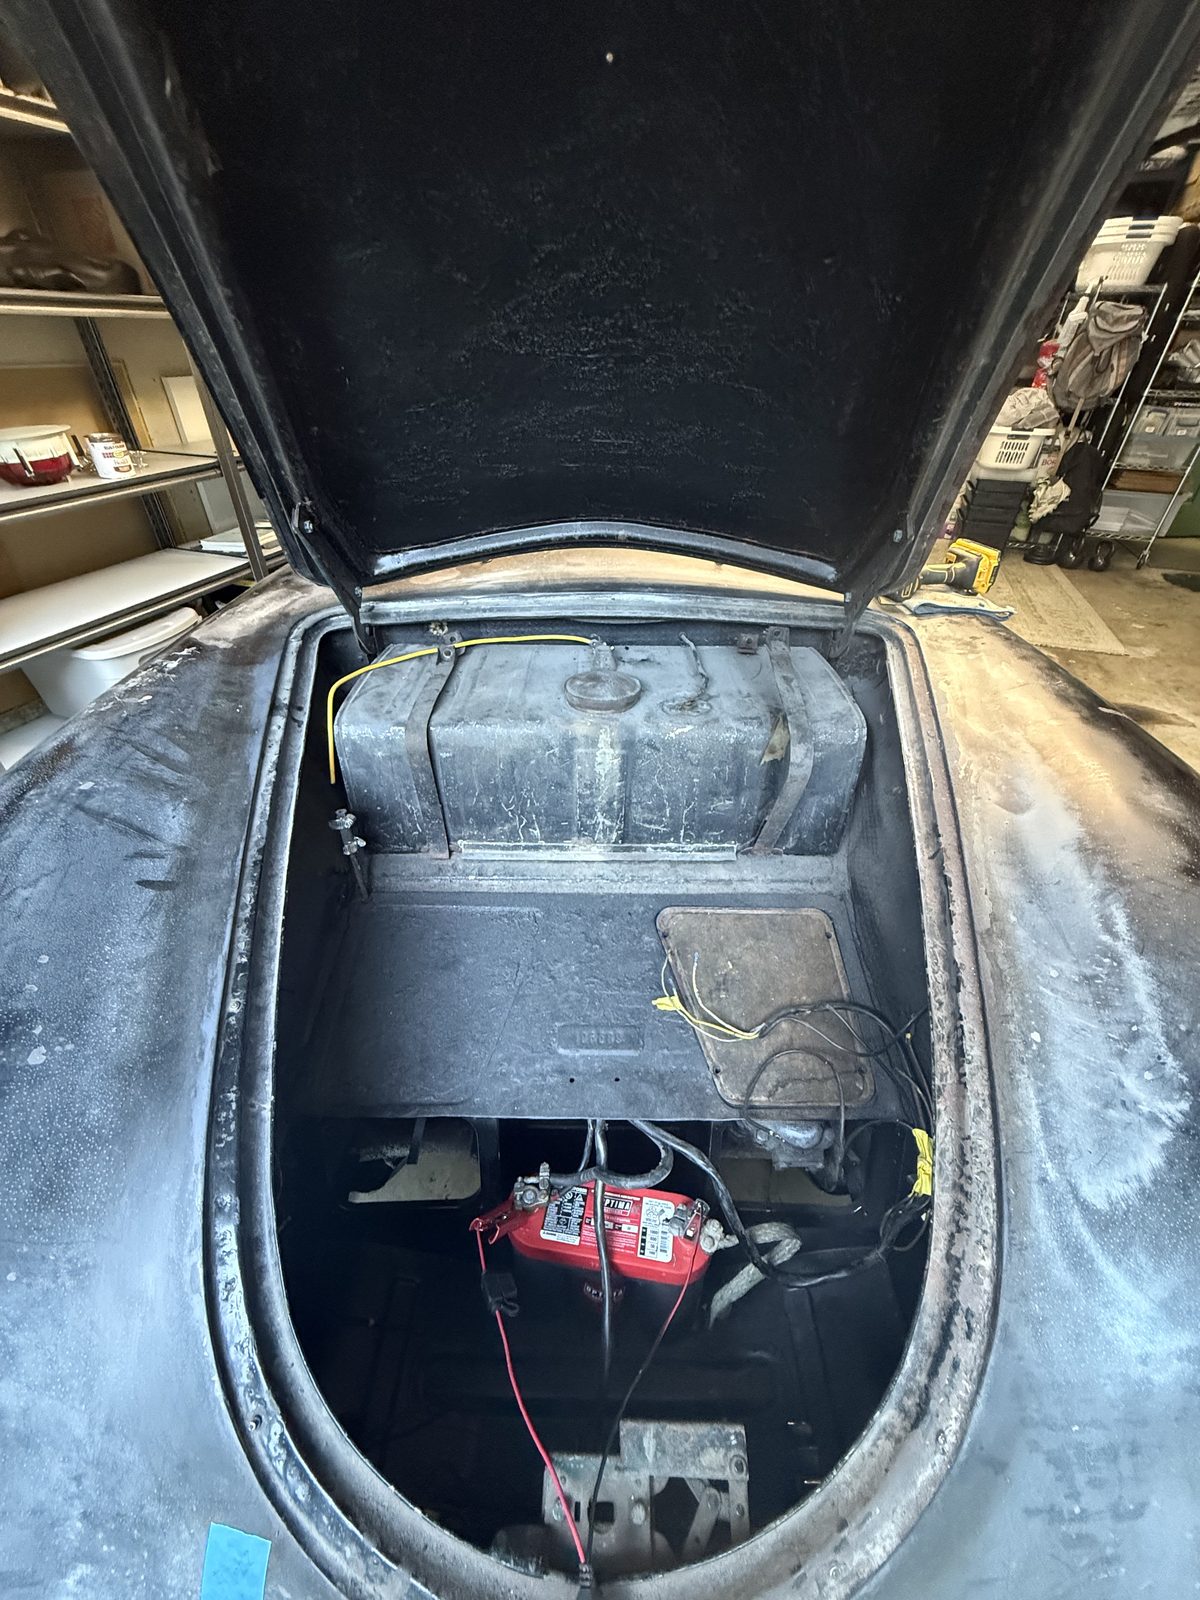
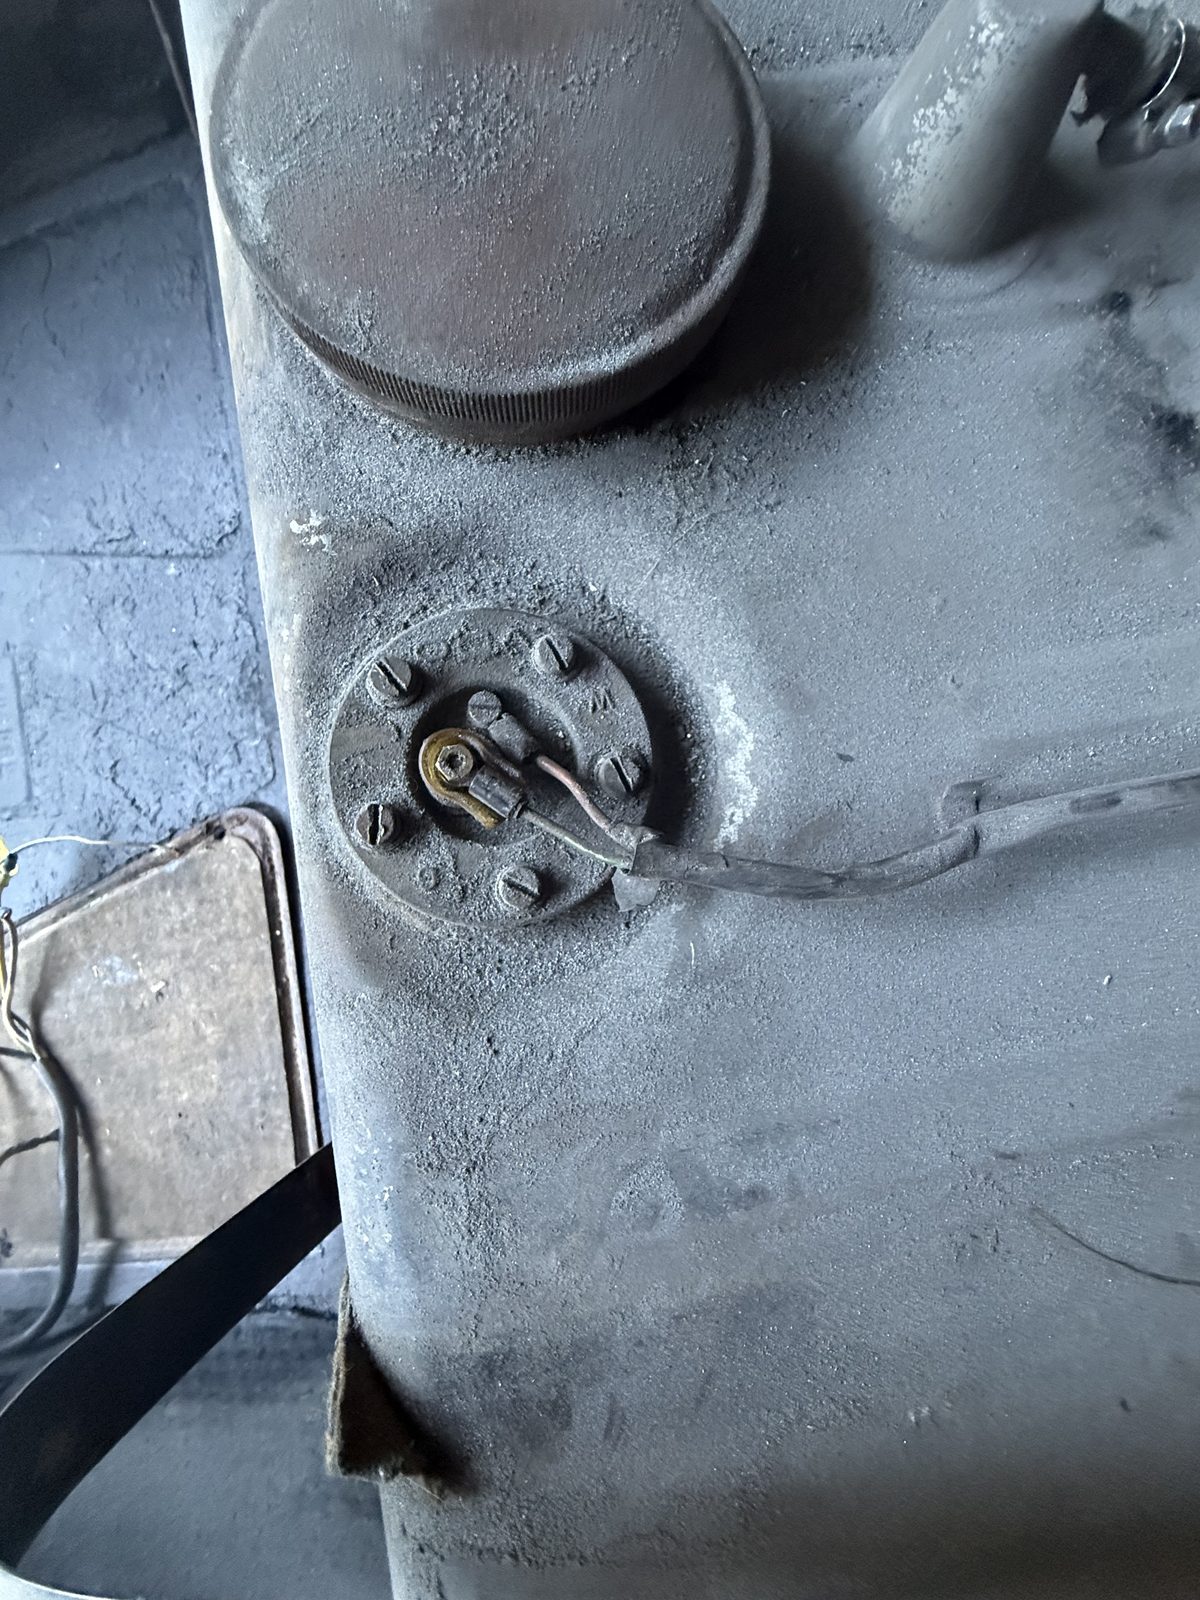
§2 · Getting it out
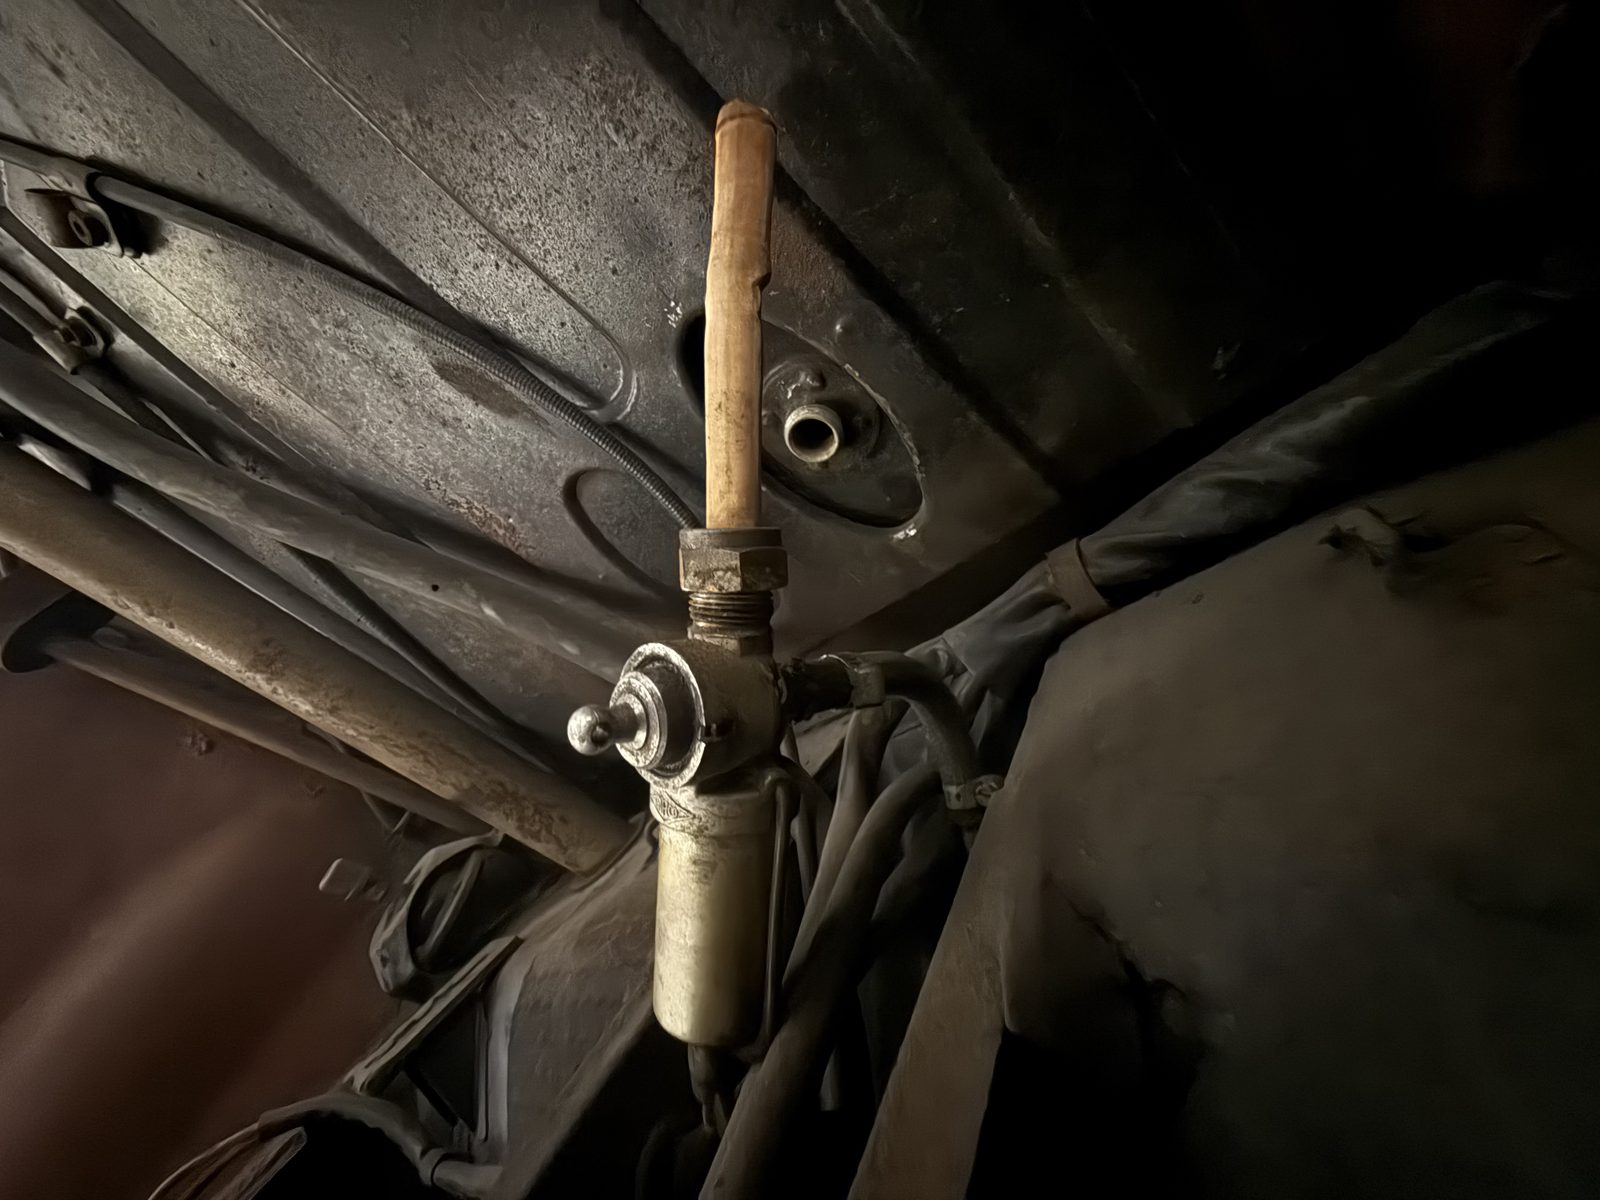
Drain first, at the tap, into something you can inspect. What comes out is your first piece of evidence — colour, sediment, smell. Ours came out as expected for fifty-year-old gasoline: dark, varnishy, unmistakable.
The sender comes out before the tank does. On the A it’s a swing-arm float on a top-mounted flange, and it lifts straight out once the screws are off and the wire is disconnected.
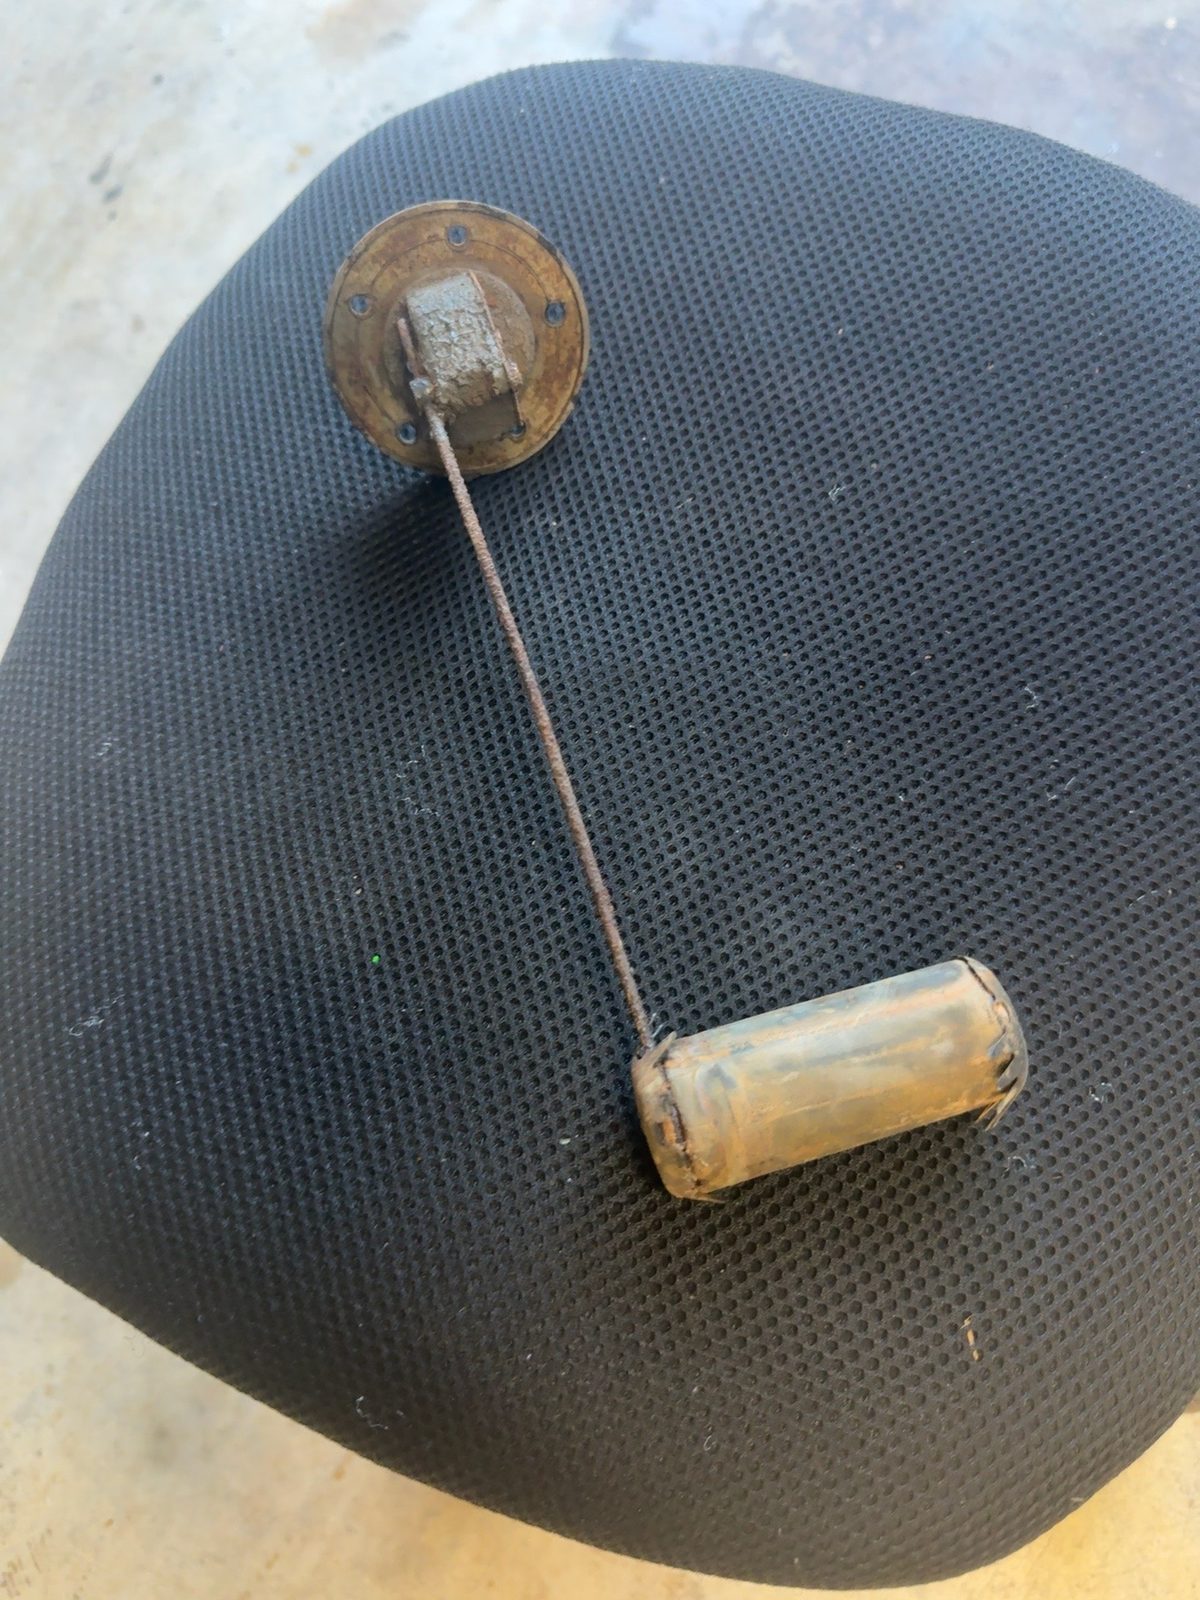
§3 · Diagnosis, on the ground
With the tank out and drained, look inside with a bright light and a phone camera on a stick. You are looking for one thing: does material come loose?
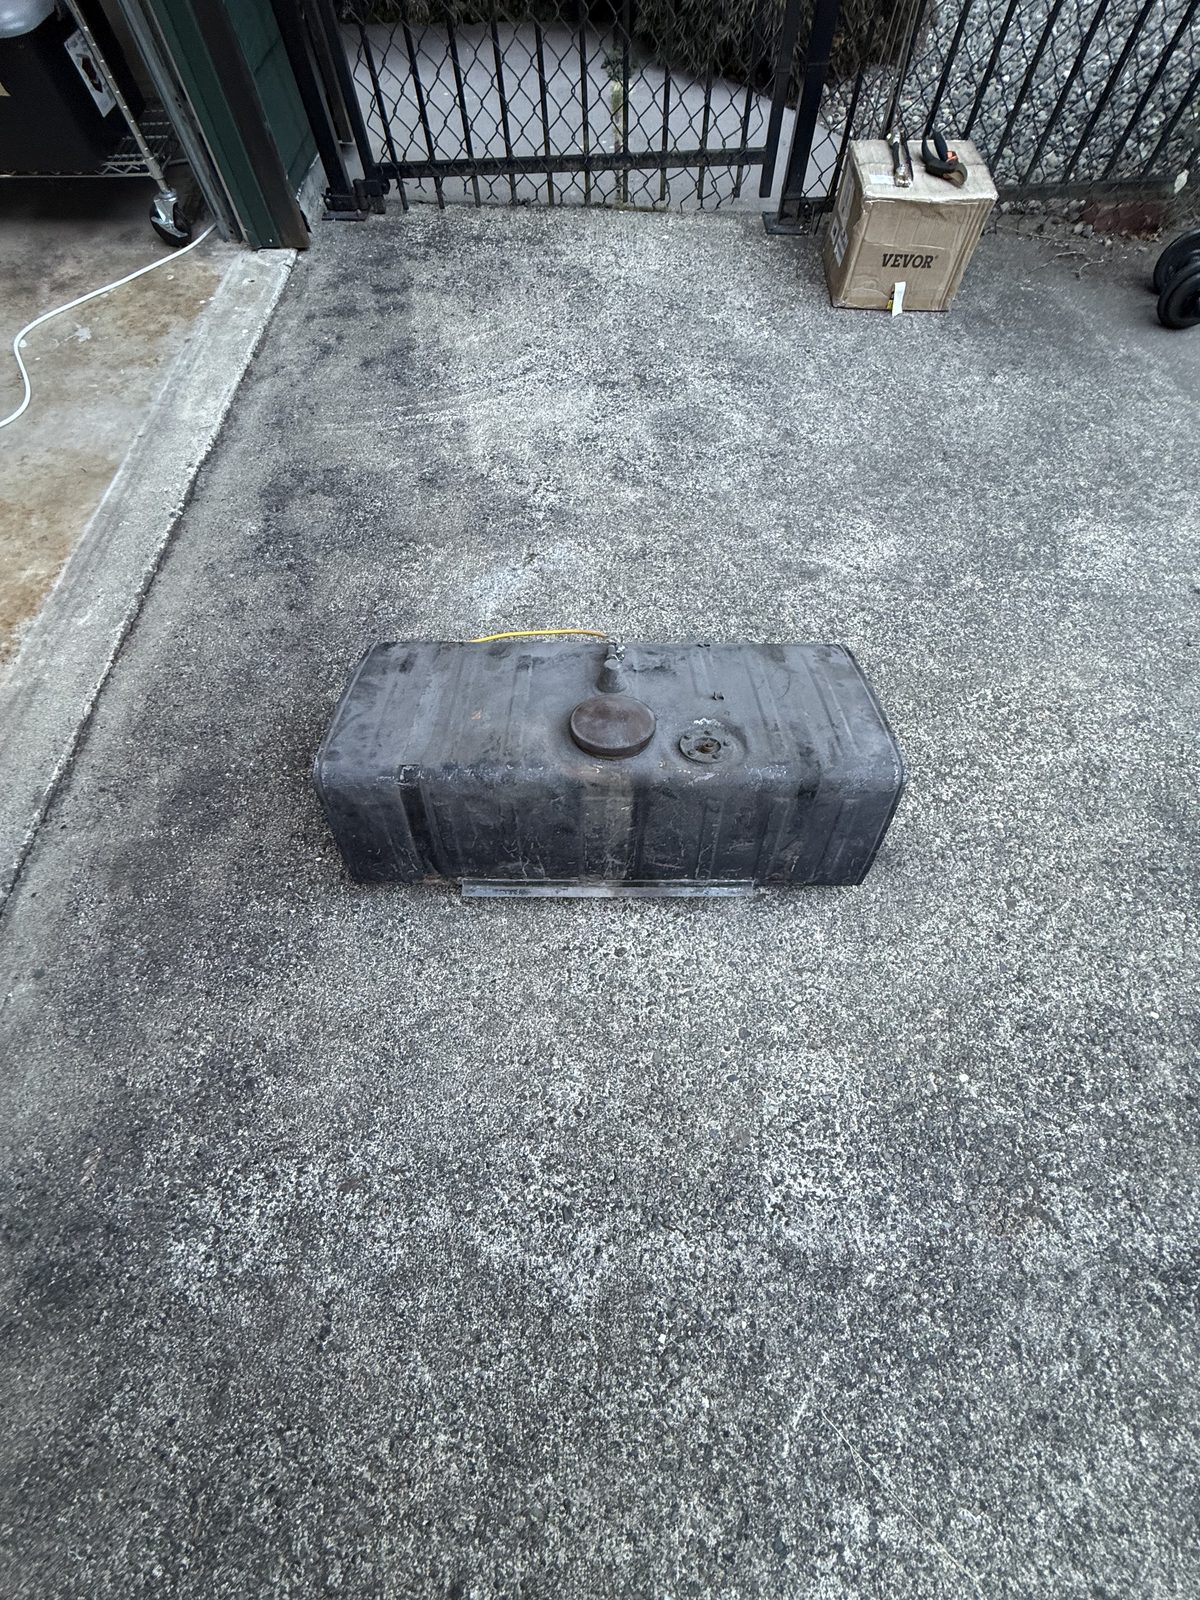
Ours didn’t. No loose rust, no scale, no flaking. What was in there was varnished gasoline residue and light surface oxidation — a dirty tank, not a dying one.
§4 · The process we used
- One week vinegar soak. Fill it, cap it, leave it. Household white vinegar. Mild acid, slow, and it does not attack sound steel the way aggressive acids do.
- Water rinse. Thoroughly, repeatedly.
- Sun dry at around 80 °F.
- Vacuum the interior.
- Air hose until the interior is genuinely dry, not nearly dry.
- Mineral spirits swished throughout to displace any water that survived steps 3–5.
- Drain.
- Fogging oil coating the interior.
The water-removal steps are not optional padding. You have just filled a bare steel tank with an aqueous solution. Every one of steps 2–7 exists to get that water back out before it does in a week what fifty years of gasoline didn’t.
§5 · Why we didn’t seal it
We left the interior as bare steel. No liner.
The reasoning, in order:
- The diagnosis didn’t call for it. Sealer solves a failing tank. Ours wasn’t failing.
- Sealer is effectively irreversible. Removing a failed liner from a 356 tank is a genuinely miserable job, and a liner that fails does so by peeling into the fuel system.
- It obscures the original interior. On a car where the argument is preservation, coating an intact original surface is the same category of decision as replacing a good dial face.
- Modern liners and ethanol have a mixed record. Formulations have improved, but the failure mode when they don’t hold is severe.
§6 · What we signed up for
Choosing not to seal is not a decision that ends when the tank goes back in. Two obligations follow, and pretending otherwise would be dishonest:
Fogging oil is a preservative, not a coating. It has a shelf life. If the car sits before fuel returns — and on a restoration, it will — the interior needs re-inspection and probably re-treatment. Put a date on the calendar rather than trusting memory.
Ethanol restarts the clock. Bare steel and E10 will begin oxidizing. Ethanol-free fuel or a stabiliser stops being an enthusiast preference and becomes standard practice for this car.
§7 · What was underneath
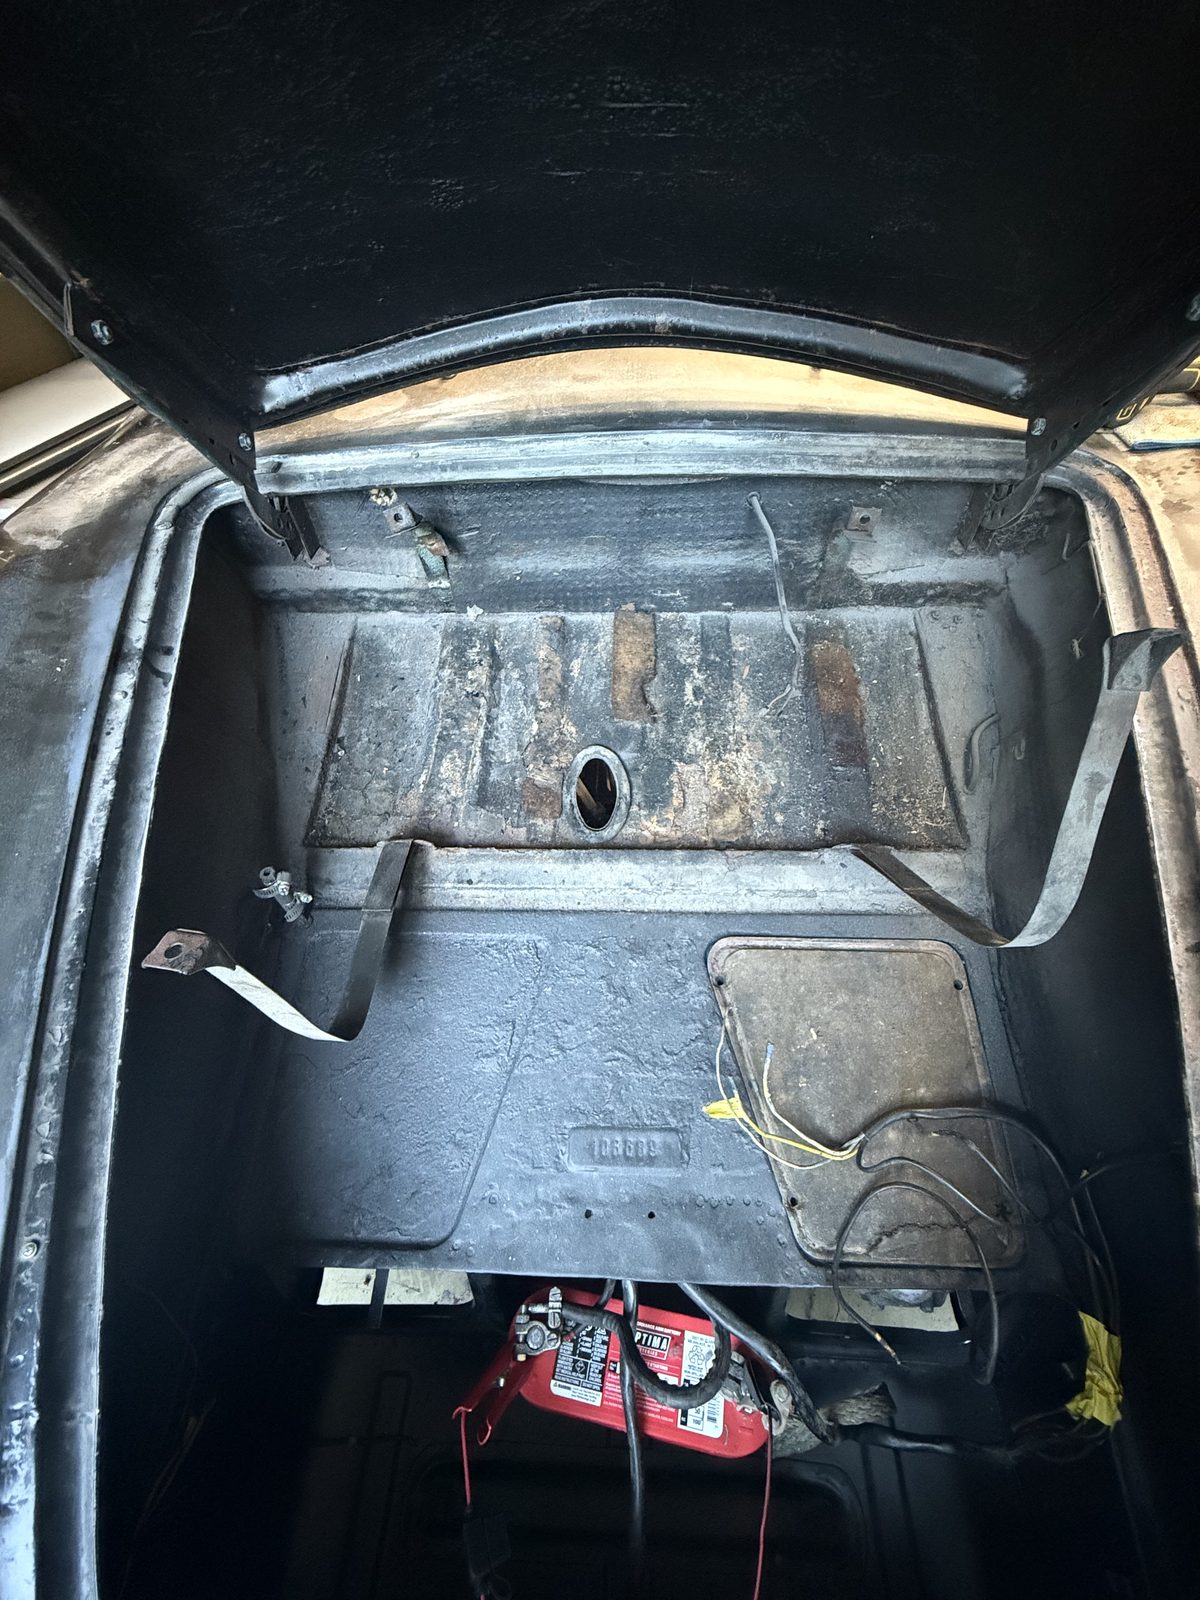
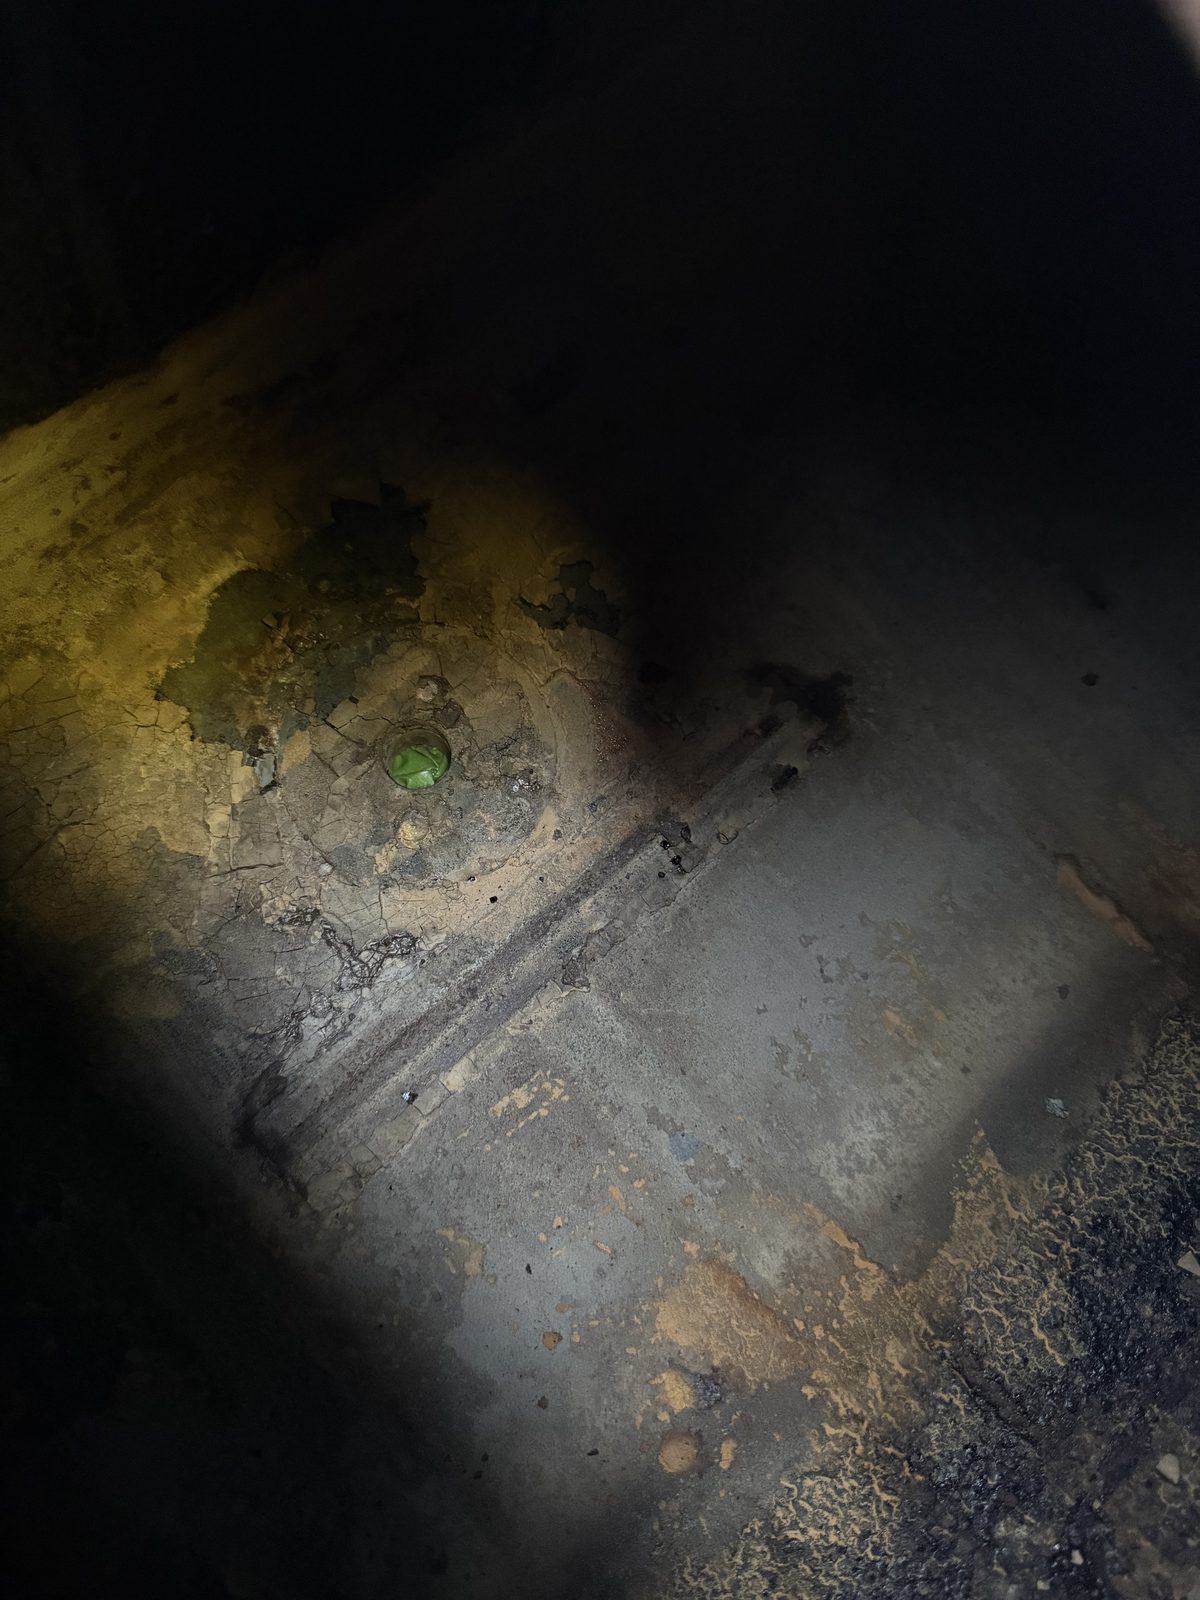
Removing the tank exposed something the tank had been hiding: localized corrosion in the compartment floor beneath it, including several isolated perforations, with solid steel around them. Trapped moisture, over decades, in a spot nobody could see.
White vinegar
Mineral spirits
Fogging oil
Fuel sender gasket
Where this guide comes from
- Shop car 1959 356A 1600 Super, VIN 108689 — tank removed, cleaned, and preserved August 2026, photographed
- Forum 356 Registry 356Talk — fuel sender and tank threads (synthesis in progress)
- Supplier Stoddard — Ask Brad Q&A, 356 fuel sending units