§1 · Before you touch anything
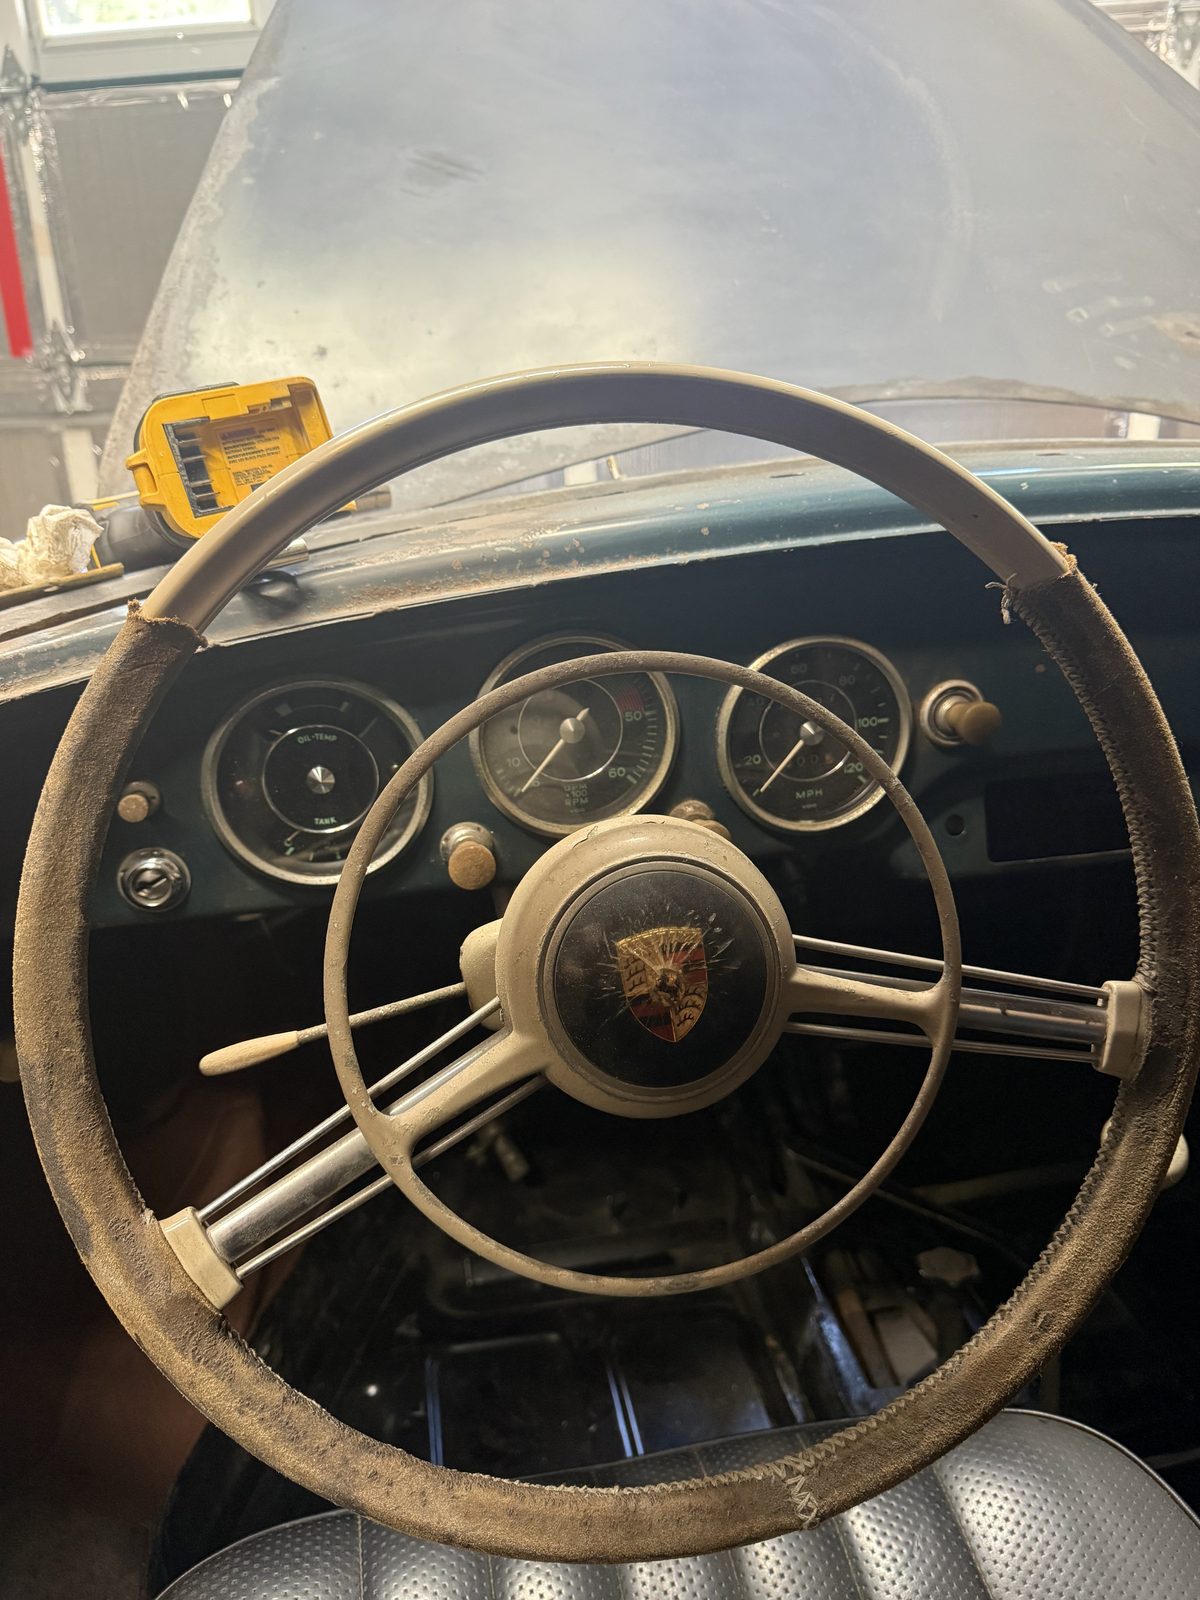
Photograph the dash intact. Not one shot — every angle, close enough to read the relationship between each gauge, its bezel, and the dash face.
You are not documenting the gauges. You are documenting how they sat, because that is the information you will not have later and cannot reconstruct from a parts diagram.
§2 · Number every wire — then don’t trust the numbers
This is the step that makes the whole job reversible, and it’s the step people skip because at the moment you’re doing it, the wiring seems obvious.
It will not be obvious in six months.
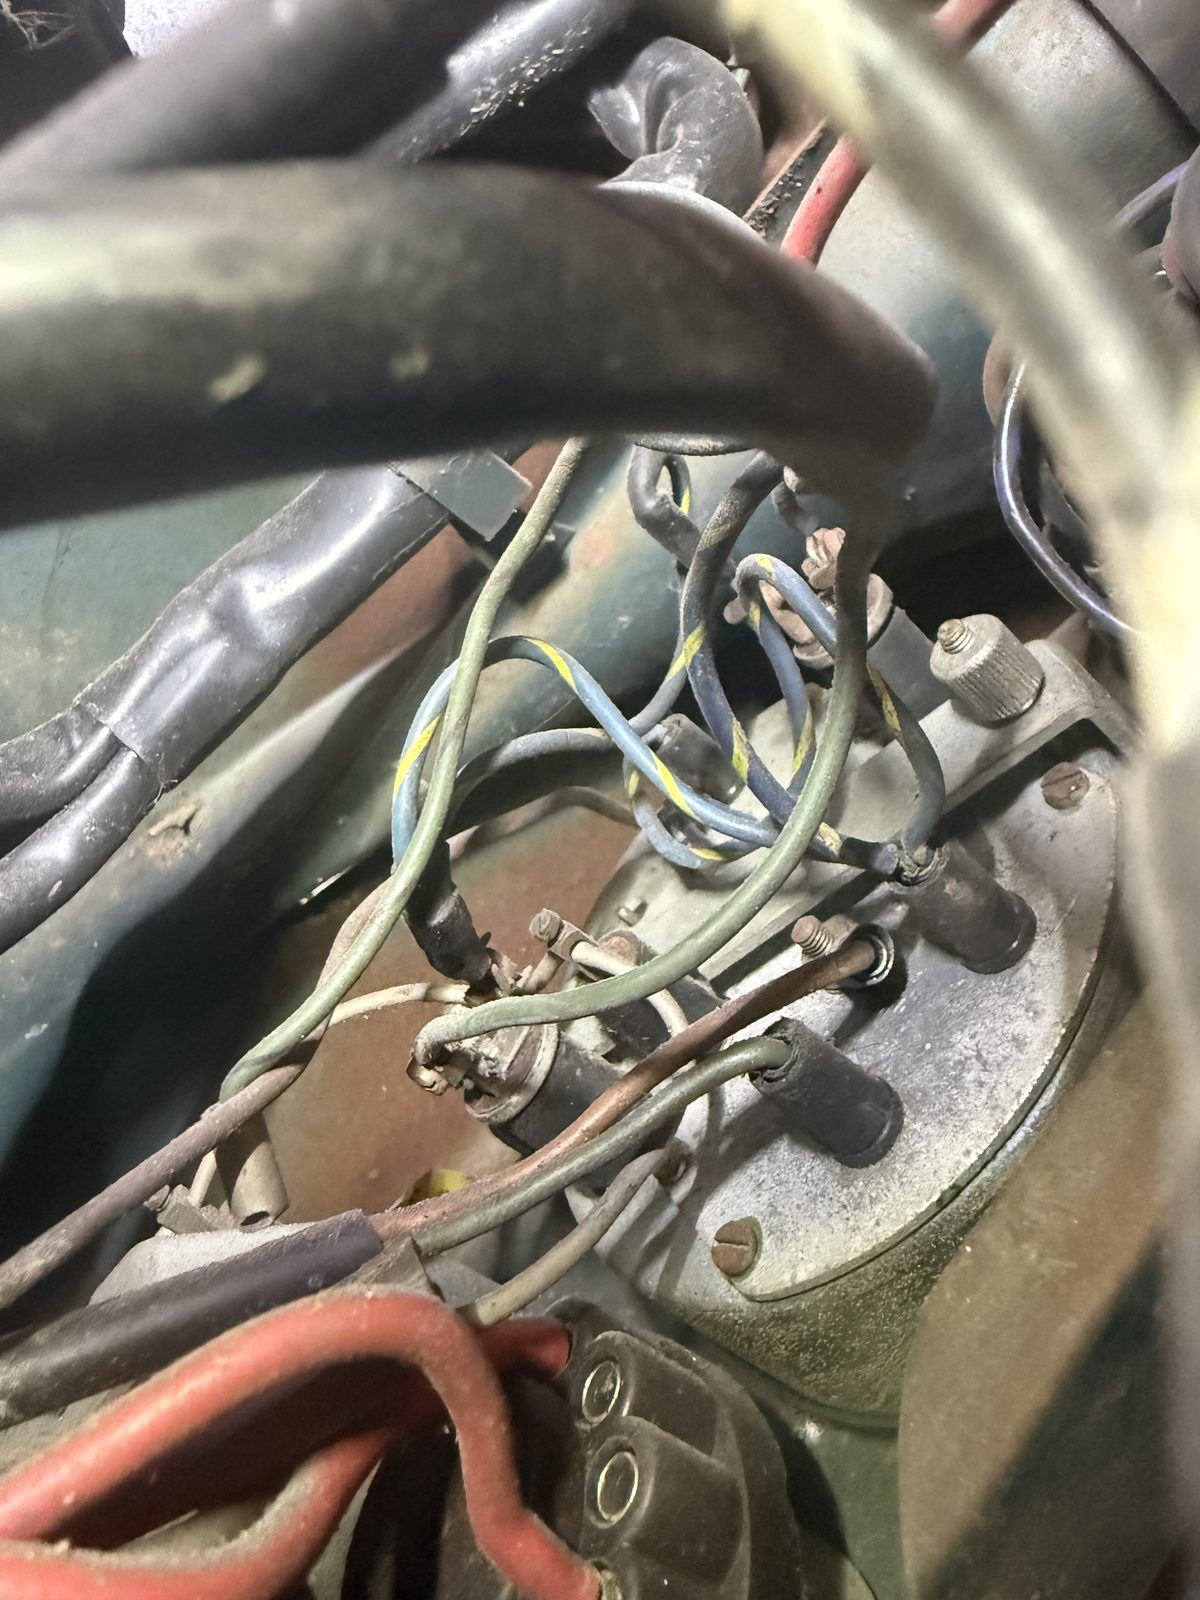
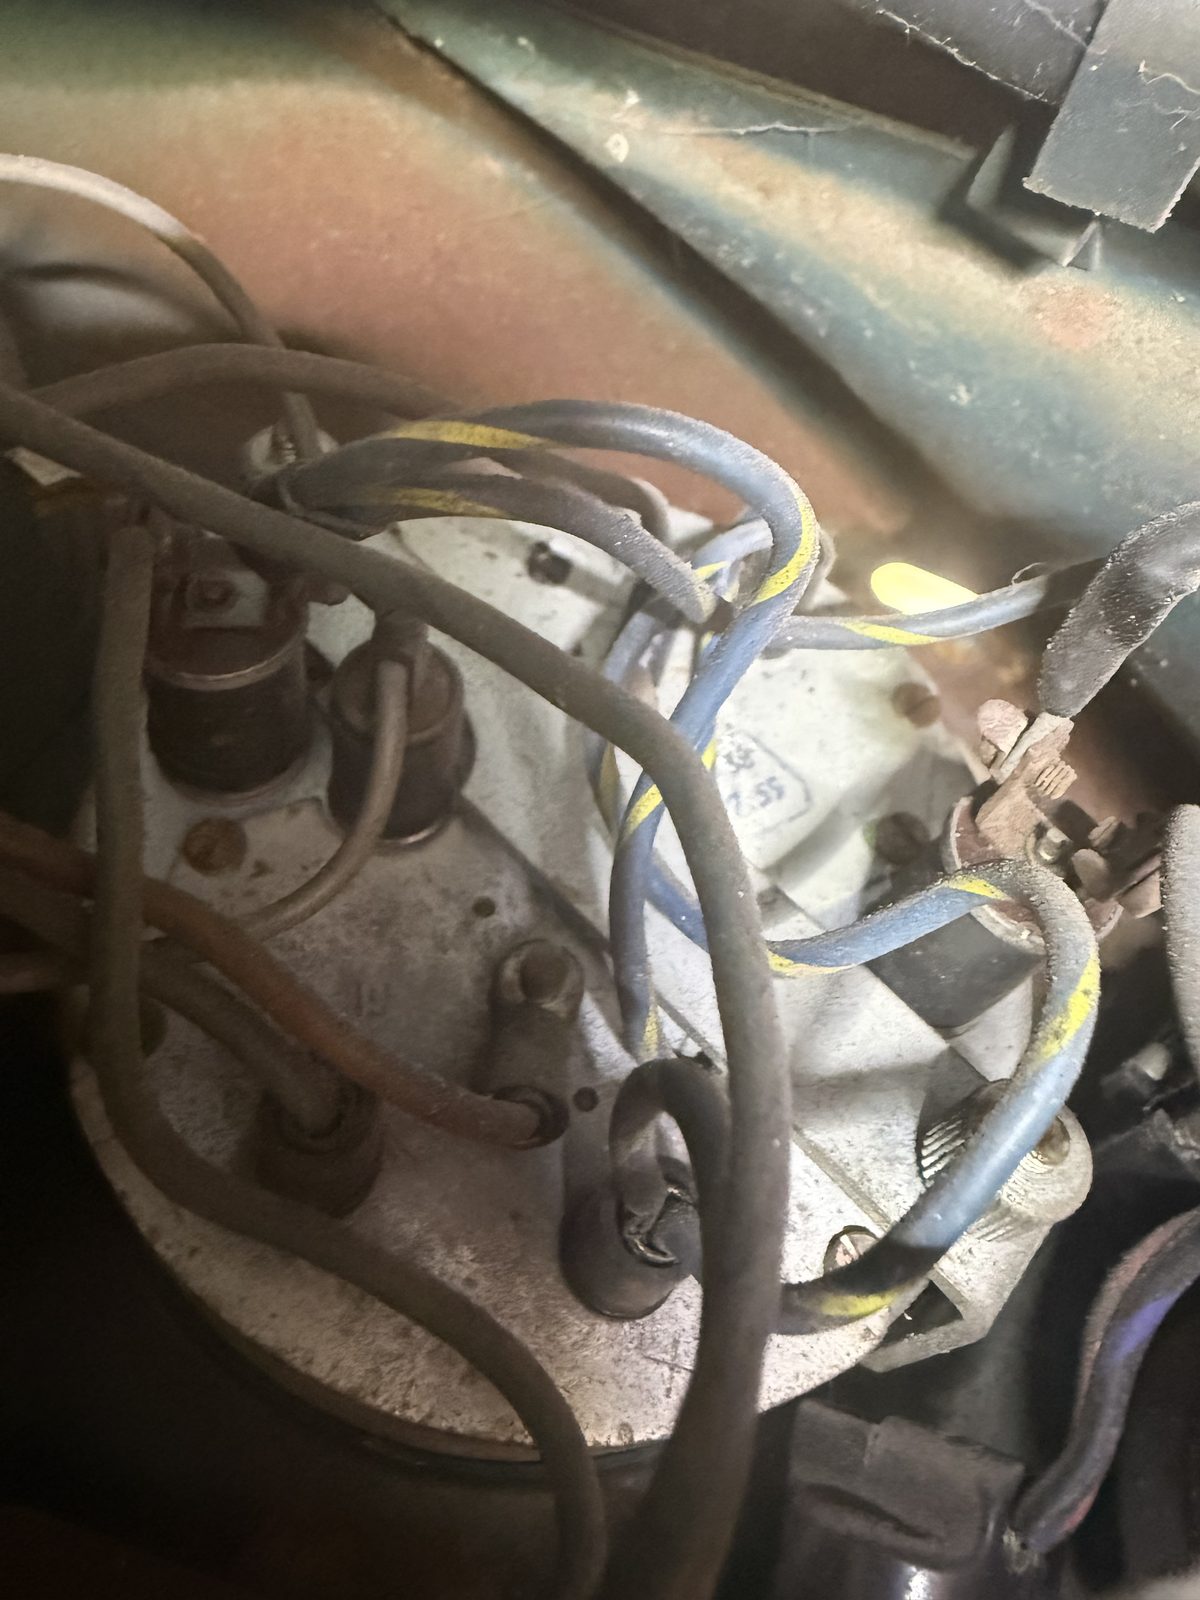
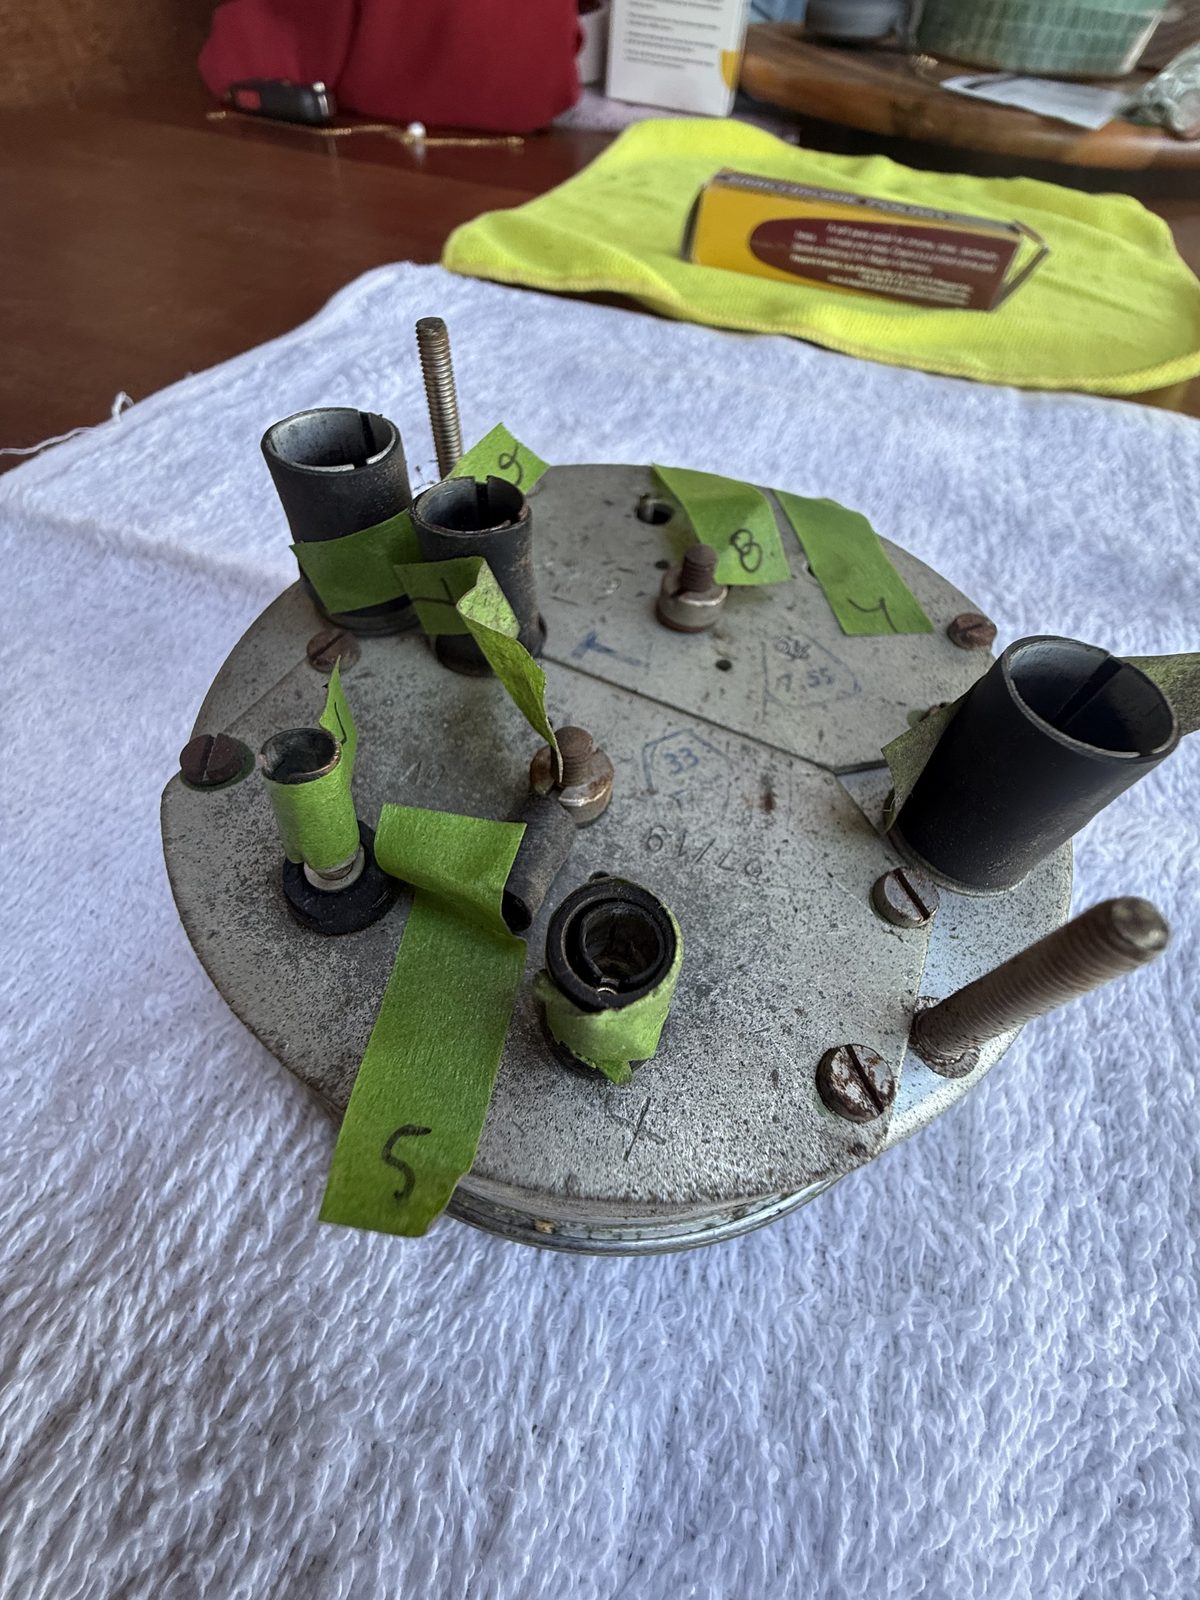
We numbered every wire with green masking tape before a single connector came loose, and photographed the routing and terminal positions as we went.
§3 · The connectors
Old connectors resist because they’re corroded and because their insulators have gone hard, not because they’re secured by something you haven’t found. Twisting cracks them. A straight, steady pull with needle-nose pliers gets them off.
§4 · When the gauge won’t move
This is the part worth reading even if you skip everything else.
The combination oil-temp/fuel gauge would not come out. The rear mounting bracket released easily — which meant, by elimination, that the bracket was never what was holding it.
The front bezel had bonded itself to the dashboard. Fifty years of compressed rubber seal plus accumulated dirt had effectively glued the bezel ring to the dash face from the front, while we were pulling from behind.
The failure mode here is obvious in hindsight and expensive in the moment: you conclude the bracket didn’t fully release, you pull harder, and you tear the dash.
What worked:
- Masking tape over the dash around the entire gauge aperture — the dash is what you’re protecting, and it is not replaceable.
- Work the perimeter progressively. Not one spot until it gives; around, and around again.
- Accept that it takes longer than it should. The bond releases gradually or it takes dash material with it.
The gauge came out with no dashboard damage.
§5 · What to photograph once it’s out
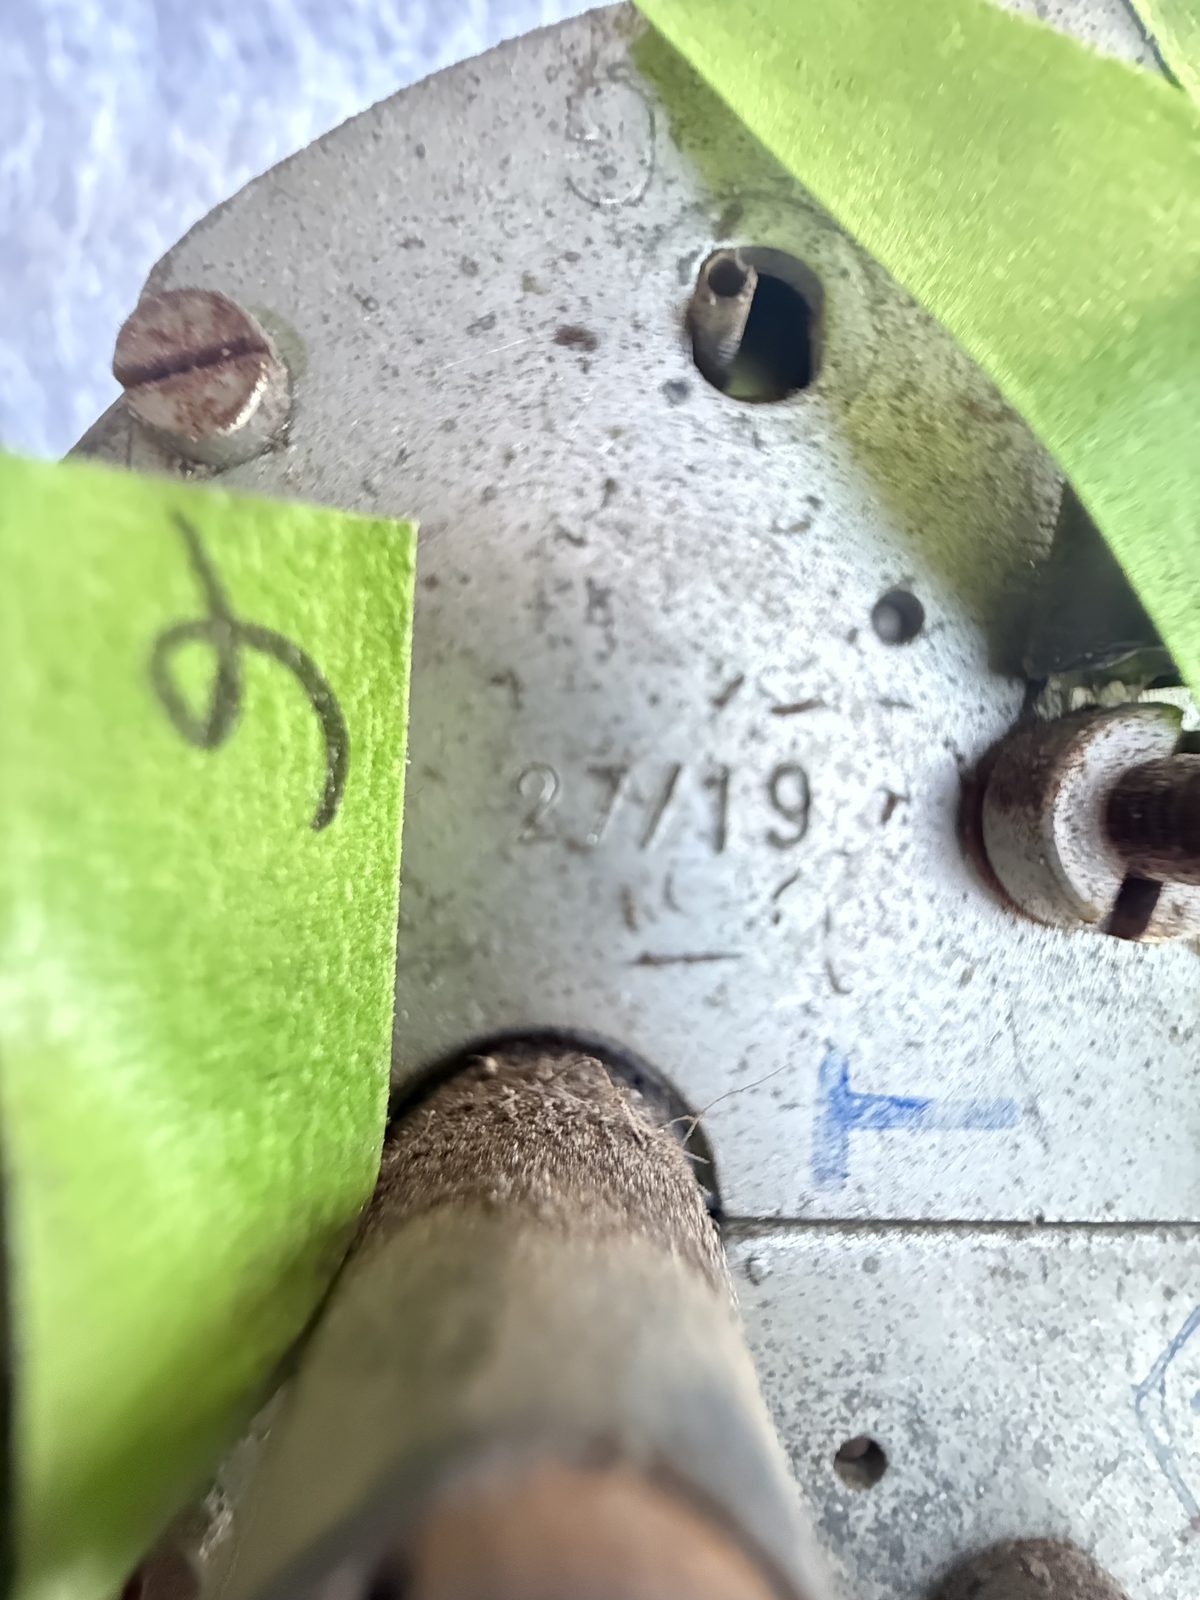
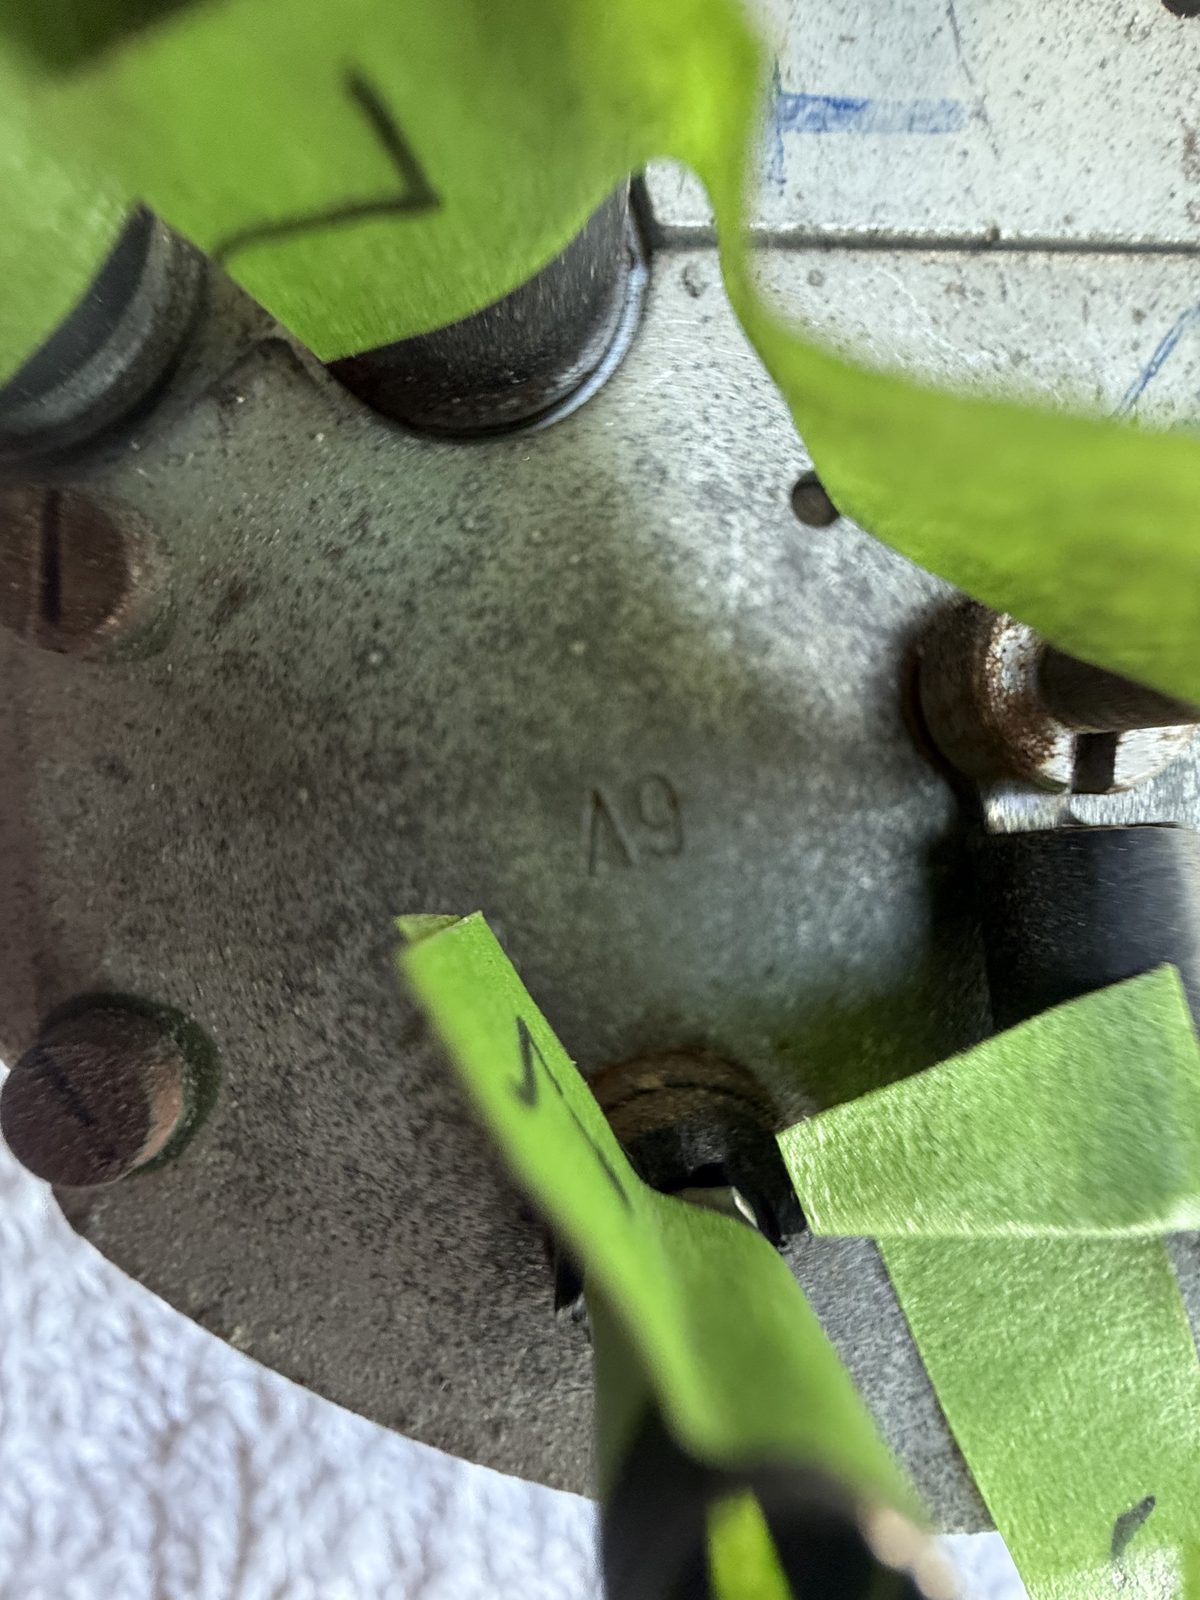
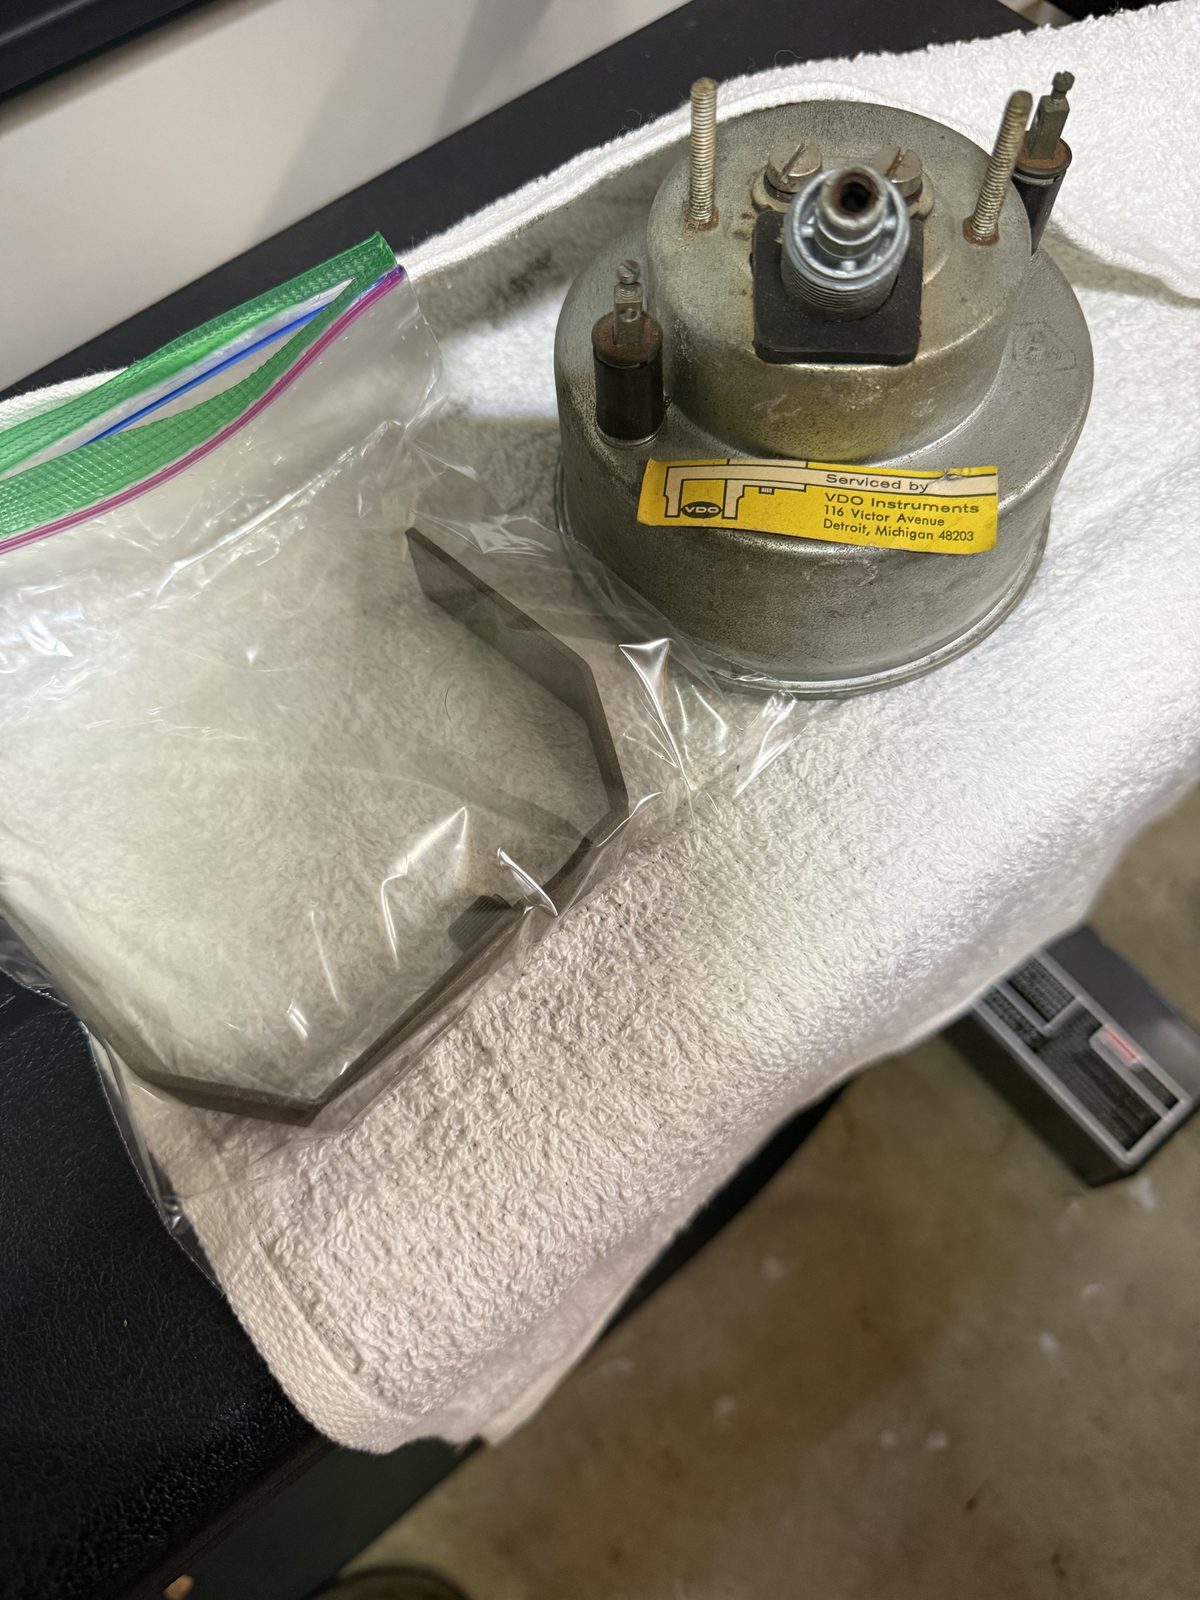
With the gauge on the bench, the rear case is a provenance document.
Ours carries 6V, 27/19, handwritten inspector markings, and date and inspection stamps — consistent with an original VDO instrument. Those marks are in exactly the same evidentiary category as an engine case stamp or a gearbox number, and they are one careless refinishing job away from gone.
§6 · Assess before you decide what to ask for
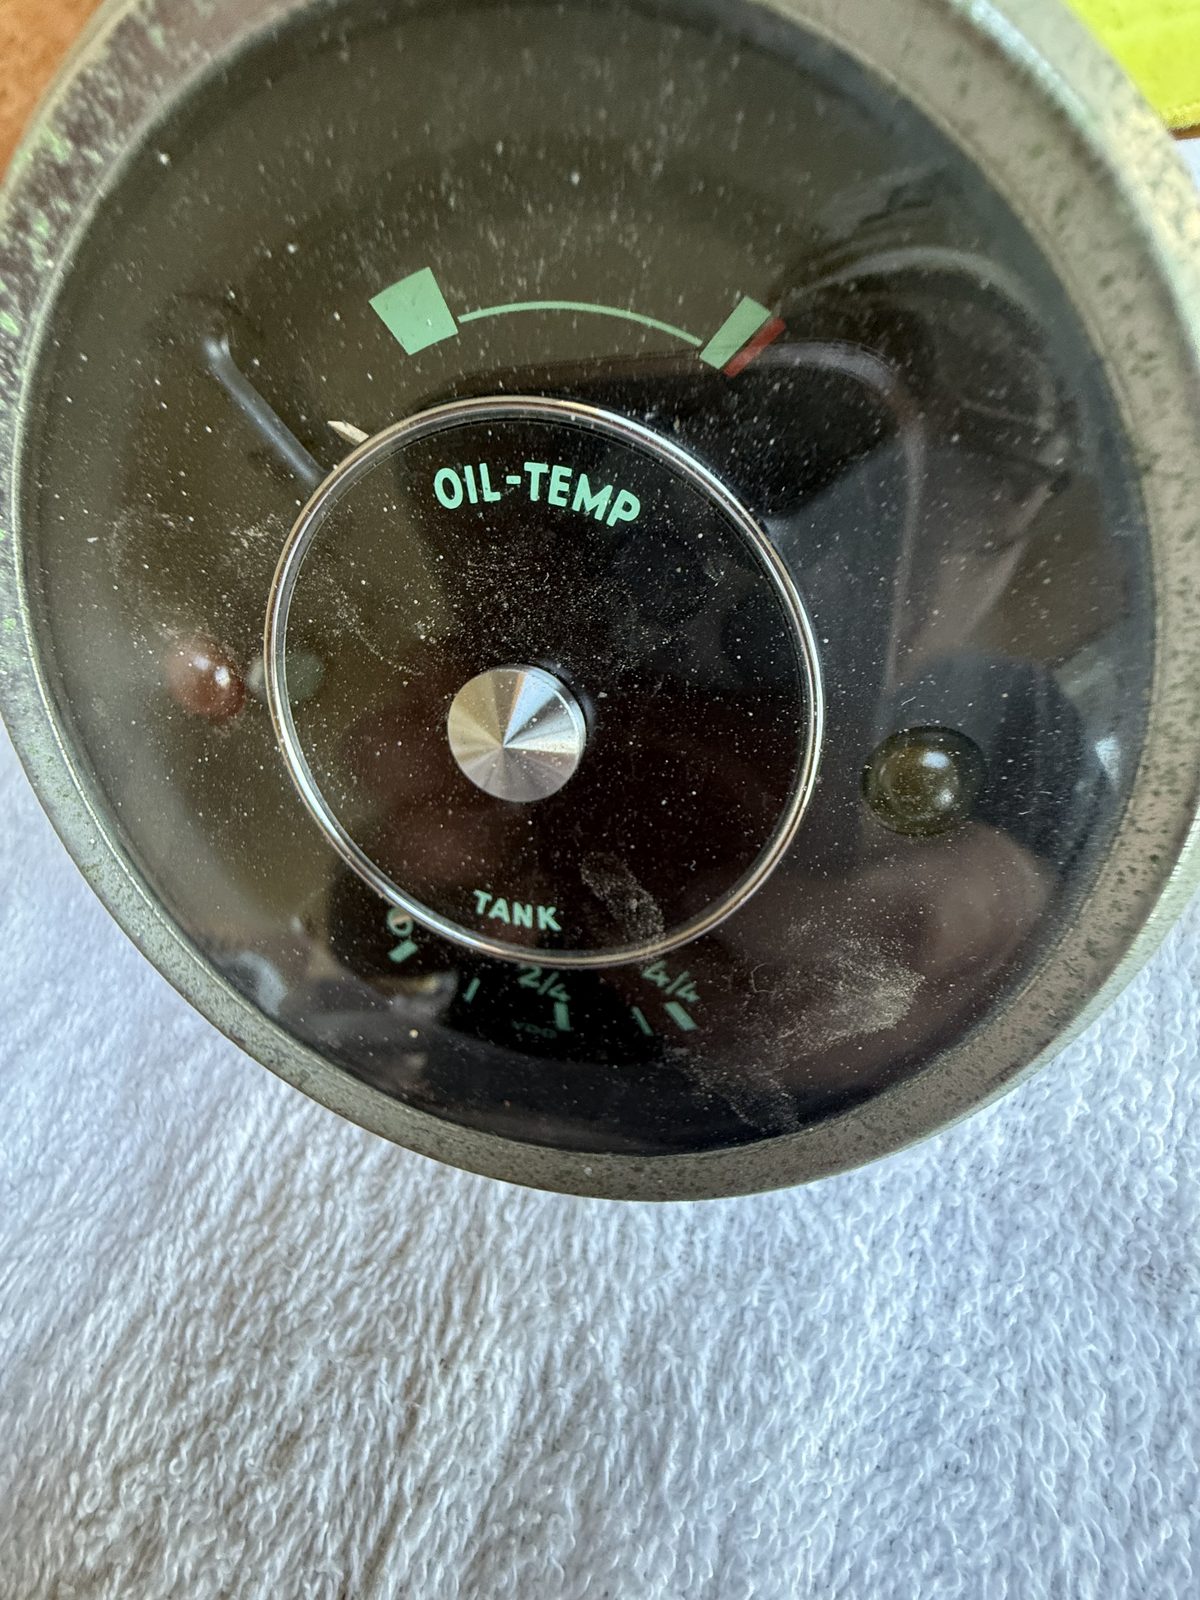
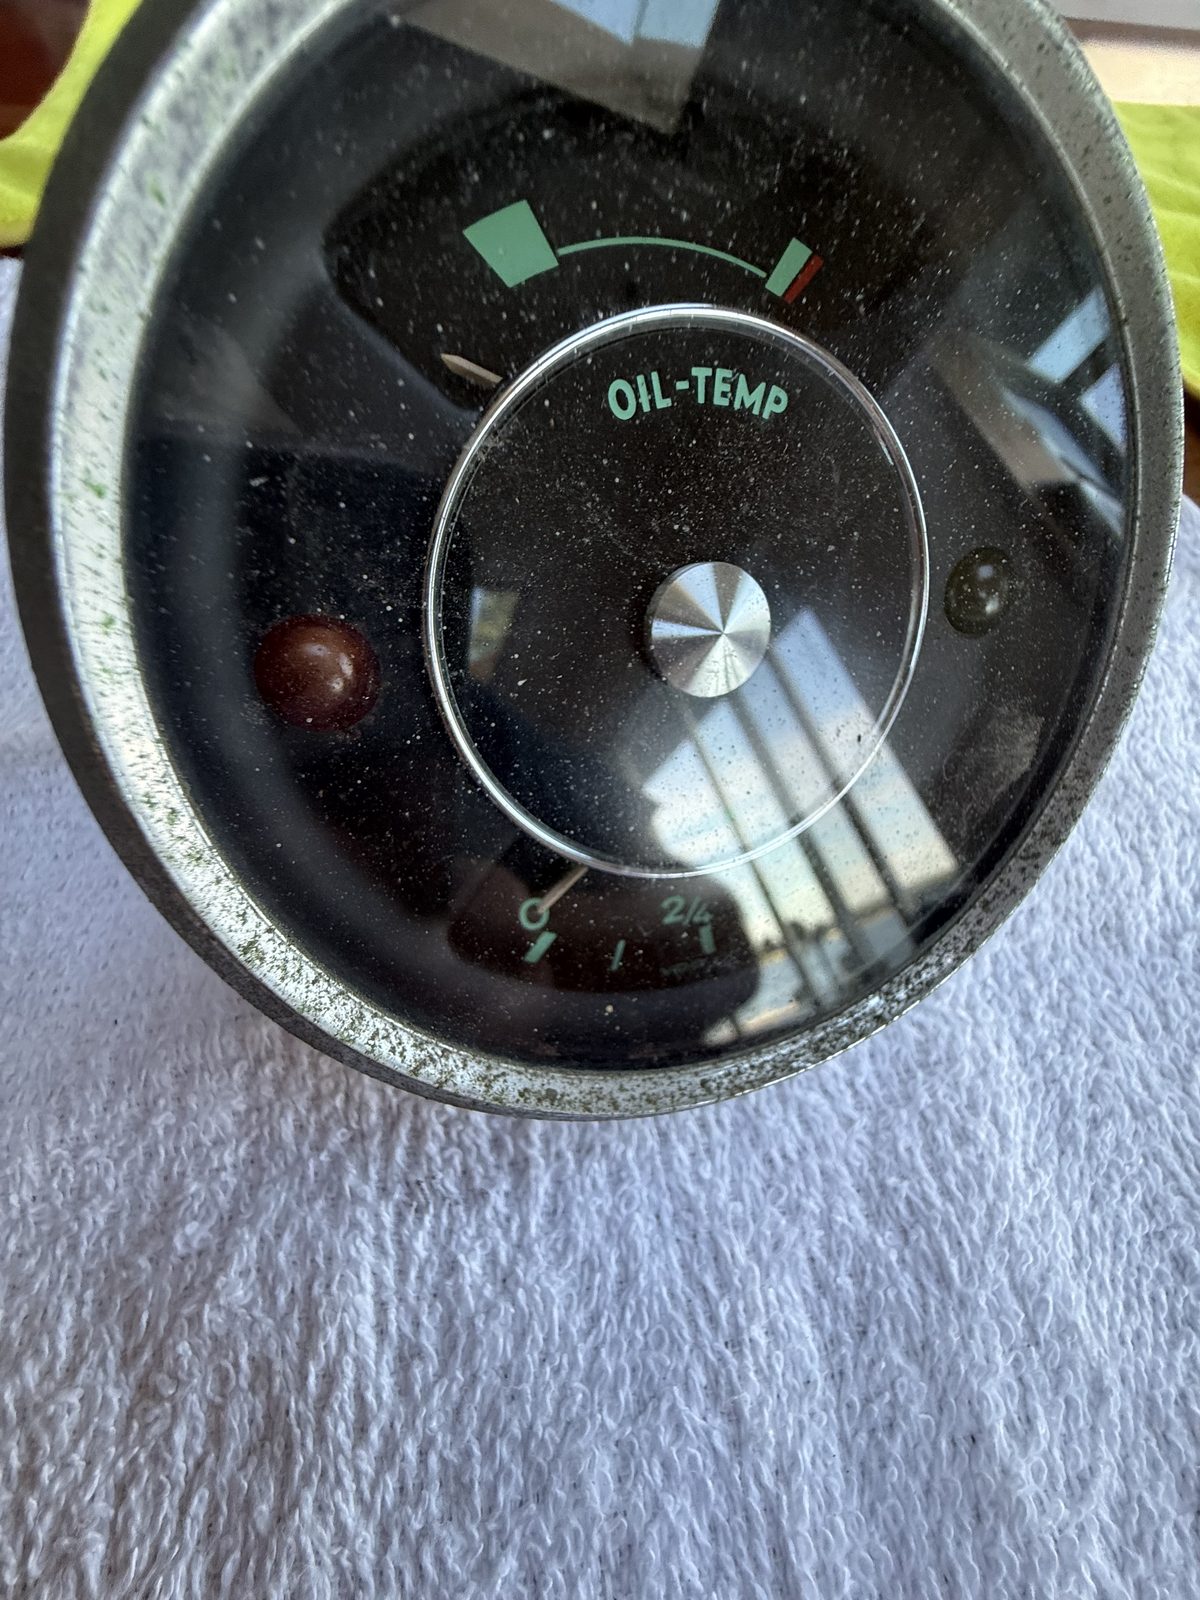
Disassembling far enough to inspect — chrome bezel, glass, and sealing gasket off — is what turns “restore it” into a specific instruction.
On our combination gauge:
| Component | Condition | Call |
|---|---|---|
| Dial face | Excellent — silk screening intact, no visible fading | Retain and restore |
| Pointers | Appear original | Retain |
| Housing | Original finish, untouched | Retain |
| Glass | Pitted through and clouded, not merely dirty | Replace |
| Rubber seal | Hardened and compressed | Replace |
§7 · What to ask a restorer for
We chose concours restoration over the lighter repair service, and sent a written request with the gauges rather than a phone conversation. Enclose a copy in the box and email the same text separately so there’s a timestamped record on both sides.
What we asked for, and would ask for again:
- Return every original part replaced, including the unusable ones. Glass, seals, bezels, internals. They belong with the car’s documentation.
- Before/after calibration or bench-test data for each instrument.
- Calibrate to stock specification and confirm 6V operation in writing.
- Preserve the odometer reading — record it in writing before shipping so you can verify it on return.
- Retain the original dial faces, and preserve the rear-case stampings and inspector marks.
- State the fuel sender resistance range the gauge is calibrated against. A perfectly restored gauge reads wrong against a mismatched sender, and the ranges quoted for 356 senders differ meaningfully by type. Measure your sender while it’s out and compare. See the fuel tank guide for the measurement.
- Contact me before proceeding if anything changes scope, cost, or the ability to retain original material.
Green masking tape
Porcelain connector housing, brake warning light
Needle-nose pliers
Where this guide comes from
- Shop car 1959 356A 1600 Super, VIN 108689 — speedometer, tachometer, and combination oil-temp/fuel gauge removed August 2026, photographed
- Supplier Palo Alto Speedometer — VDO 356 gauge restoration services